
Hi Everyone, thanks for dropping by!
Reaver post number 5- moving on from the legs and body, I've start work on the weapon arms. First up the Laser Blaster 3 Strength D blasts - Yes Please!
I wanted to be able to change weapons, as I'd like to have the options to swap out the configuration depending upon what I'm facing. I think the Laser Blaster will be one that is used often, however, I still like the ability to swap them out. I decided to go for a nut and screw solution, rather than magnets. I felt it was the simpler option than cutting the shoulder joint to position the magnet.
 First think I did was to construct the weapon, then once I was happy with the direction it was to be pointing in- having the Reaver 'dry' fitted together, (leaning against the wall to prevent it falling!) and holding the gun until I was happy with the position- the next step was to mark on the gun/shoulder the point so that I knew how to position the weapon/.shoulder when it came to glue it, but also I marked the ball of the shoulder going through the shoulder support so that I knew where to drill the screw.
 With this point I then put the shoulder joint into a vice and bore a hole for the screw to sit in snugly. Once I'd got a hole in the ball- I then proceeded to fill the hole half way with JB weld- then i pushed the screw into the hole- leaving it for 24 hours to set.
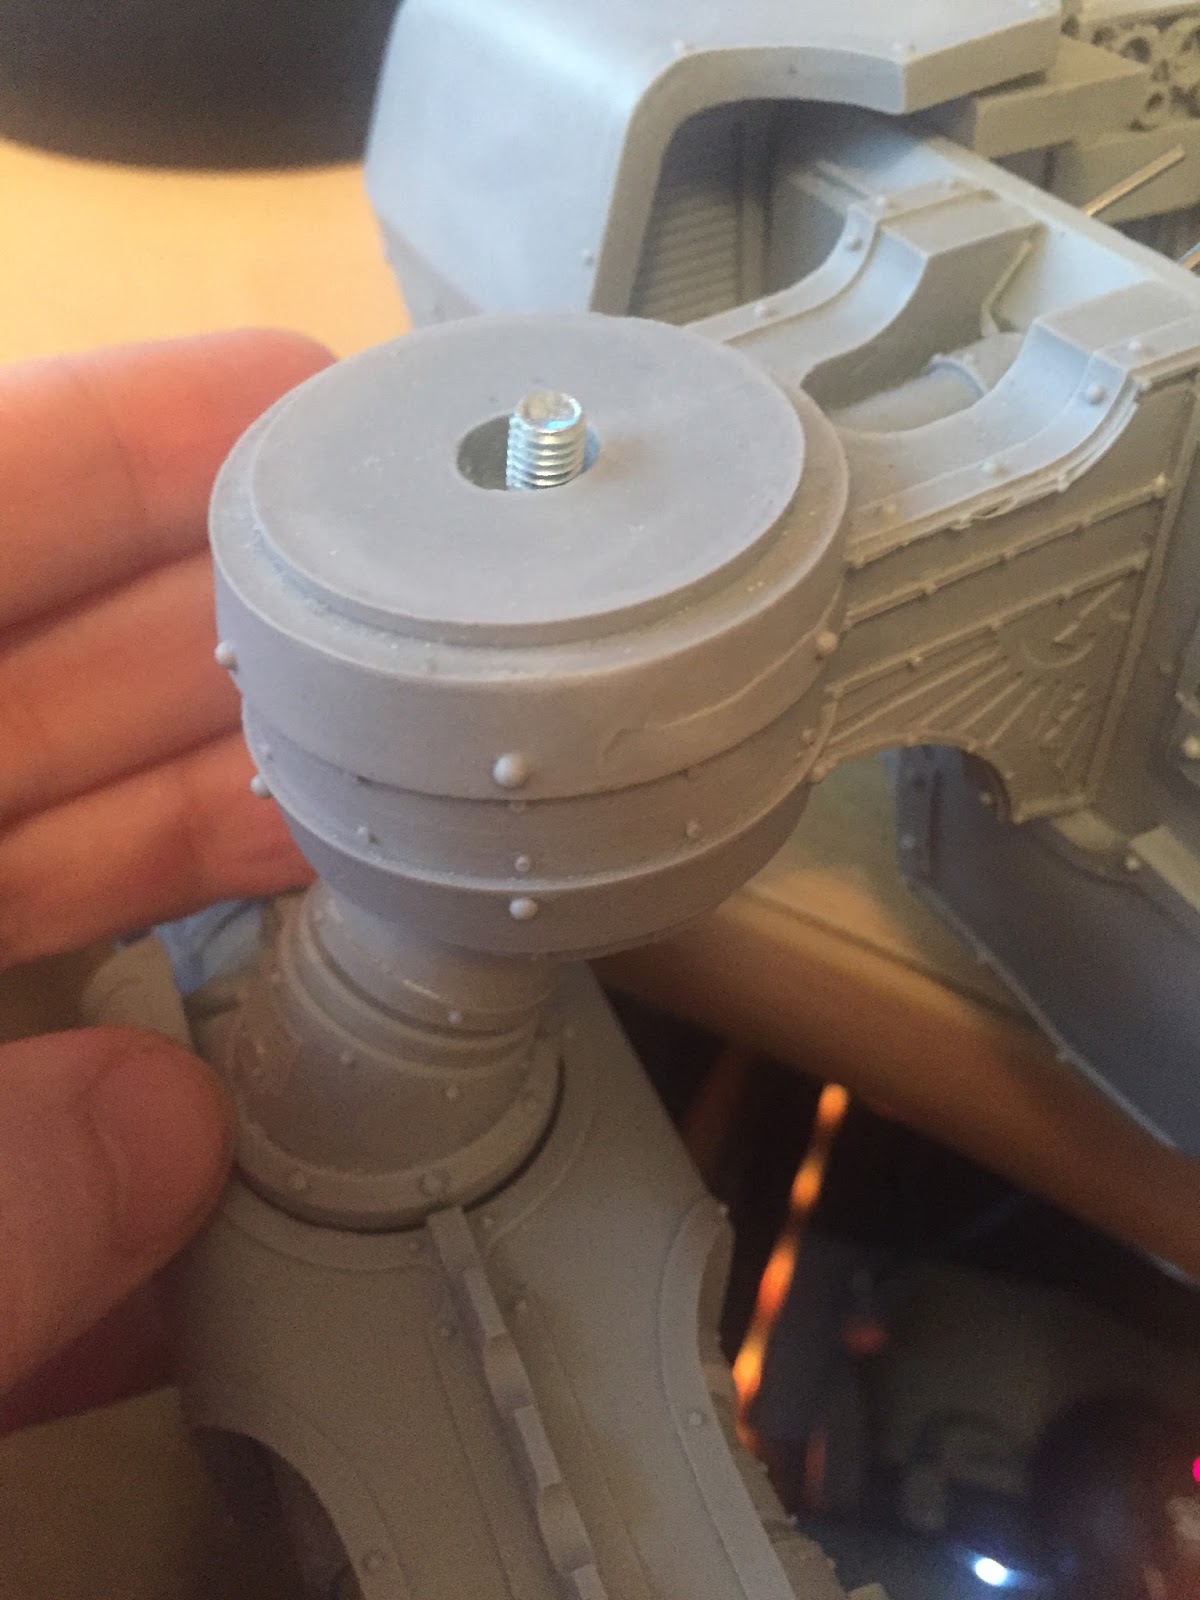
Below are a couple of images of the screw going into the shoulder support- and then secured into place with the nut and washer. I used a washer as I plan to magnetise the shoulder guard to secure it into place.

 The shoulder guard had to have a hole drilled out to go over the nut, you can see in the pictures its a good fit now.


 Which weapon will be next? come back next week to see! I'll post a pick with both weapons in position.
Thanks for swinging by!
Reaver post number 5- moving on from the legs and body, I've start work on the weapon arms. First up the Laser Blaster 3 Strength D blasts - Yes Please!
I wanted to be able to change weapons, as I'd like to have the options to swap out the configuration depending upon what I'm facing. I think the Laser Blaster will be one that is used often, however, I still like the ability to swap them out. I decided to go for a nut and screw solution, rather than magnets. I felt it was the simpler option than cutting the shoulder joint to position the magnet.


Below are a couple of images of the screw going into the shoulder support- and then secured into place with the nut and washer. I used a washer as I plan to magnetise the shoulder guard to secure it into place.


Thanks for swinging by!

Awesome work, love that idea for fixing on the weapon arms!
ReplyDeleteShirley you've got the gadget to countersink that washer into the resin ?
ReplyDeleteWell played, hadn't though of doing it that way.
ReplyDeleteBuilding a titan feels more like building a piece of ikea furniture then a model :)
ReplyDeleteIf you ever play full scale Titanicus, a mixed armament is best. Being swappable will help!
ReplyDeletethanks for all the positive comments guys!
ReplyDeleteZzzzzz- I've put some more pics on the #6 post of how the pauldrons sit on the washers- I think the overal look is good, and not to need the work to sink them.