Showing posts with label Sicaran Battle Tank. Show all posts

13 May 2022

Tanks!!! Deathwatch Sicaran variations - Done!

Hello All, you wait for tanks, and then 3 come along! Boom!

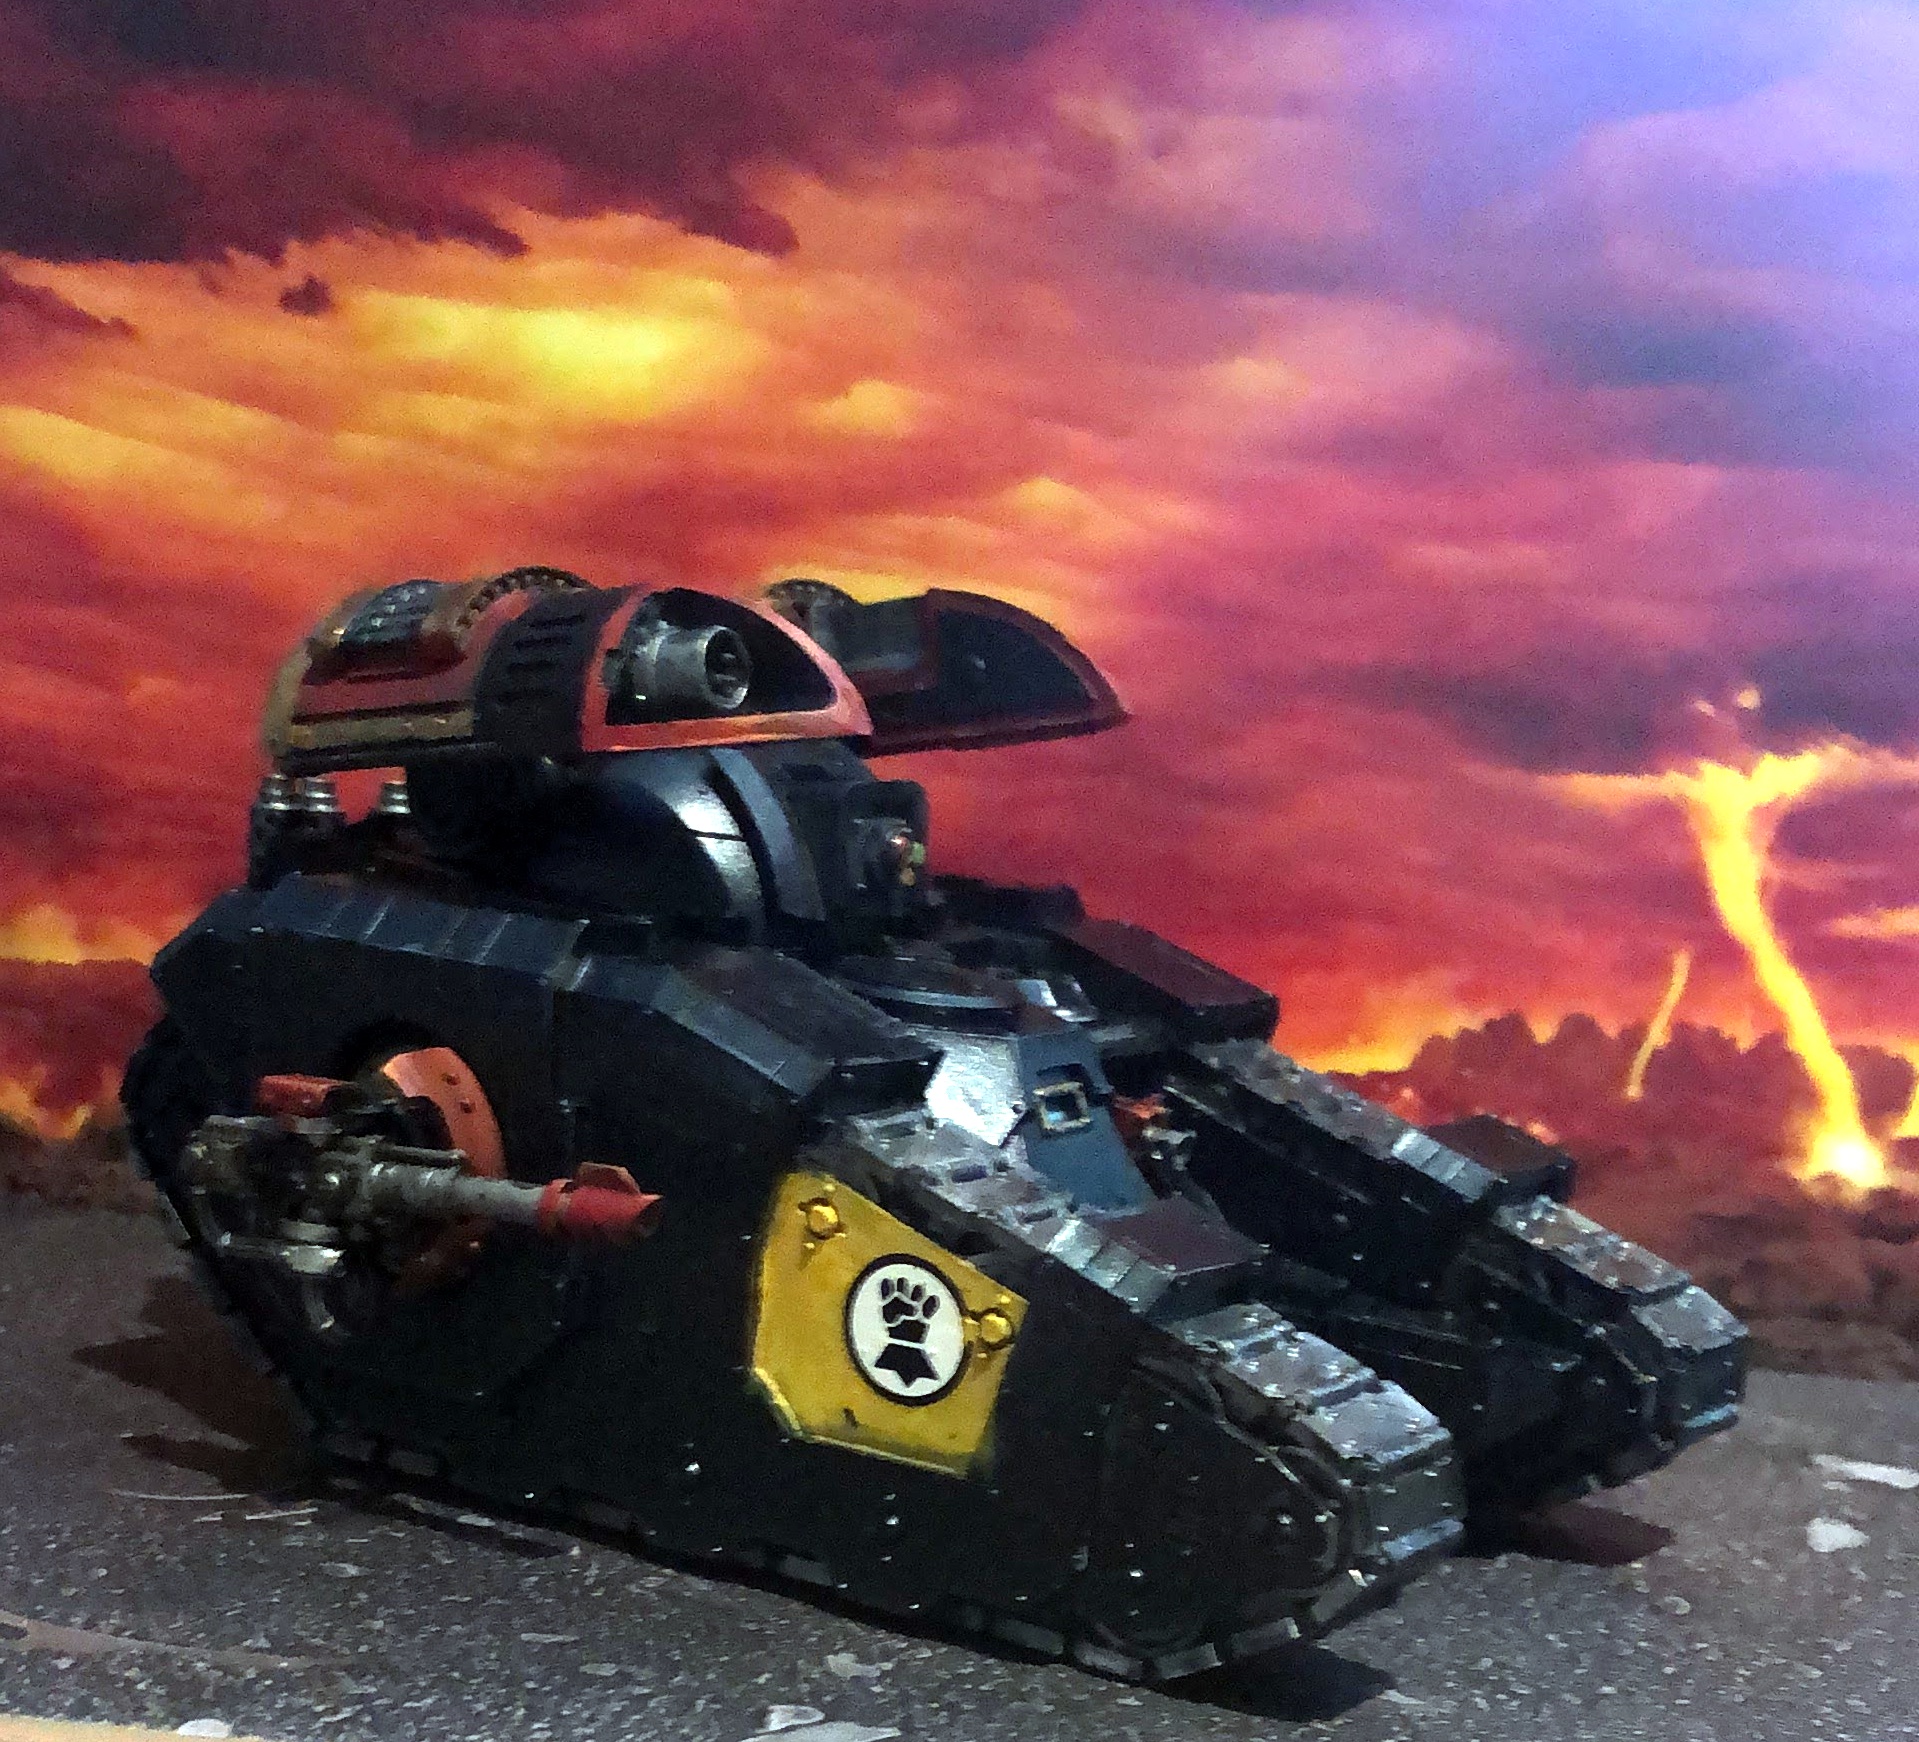
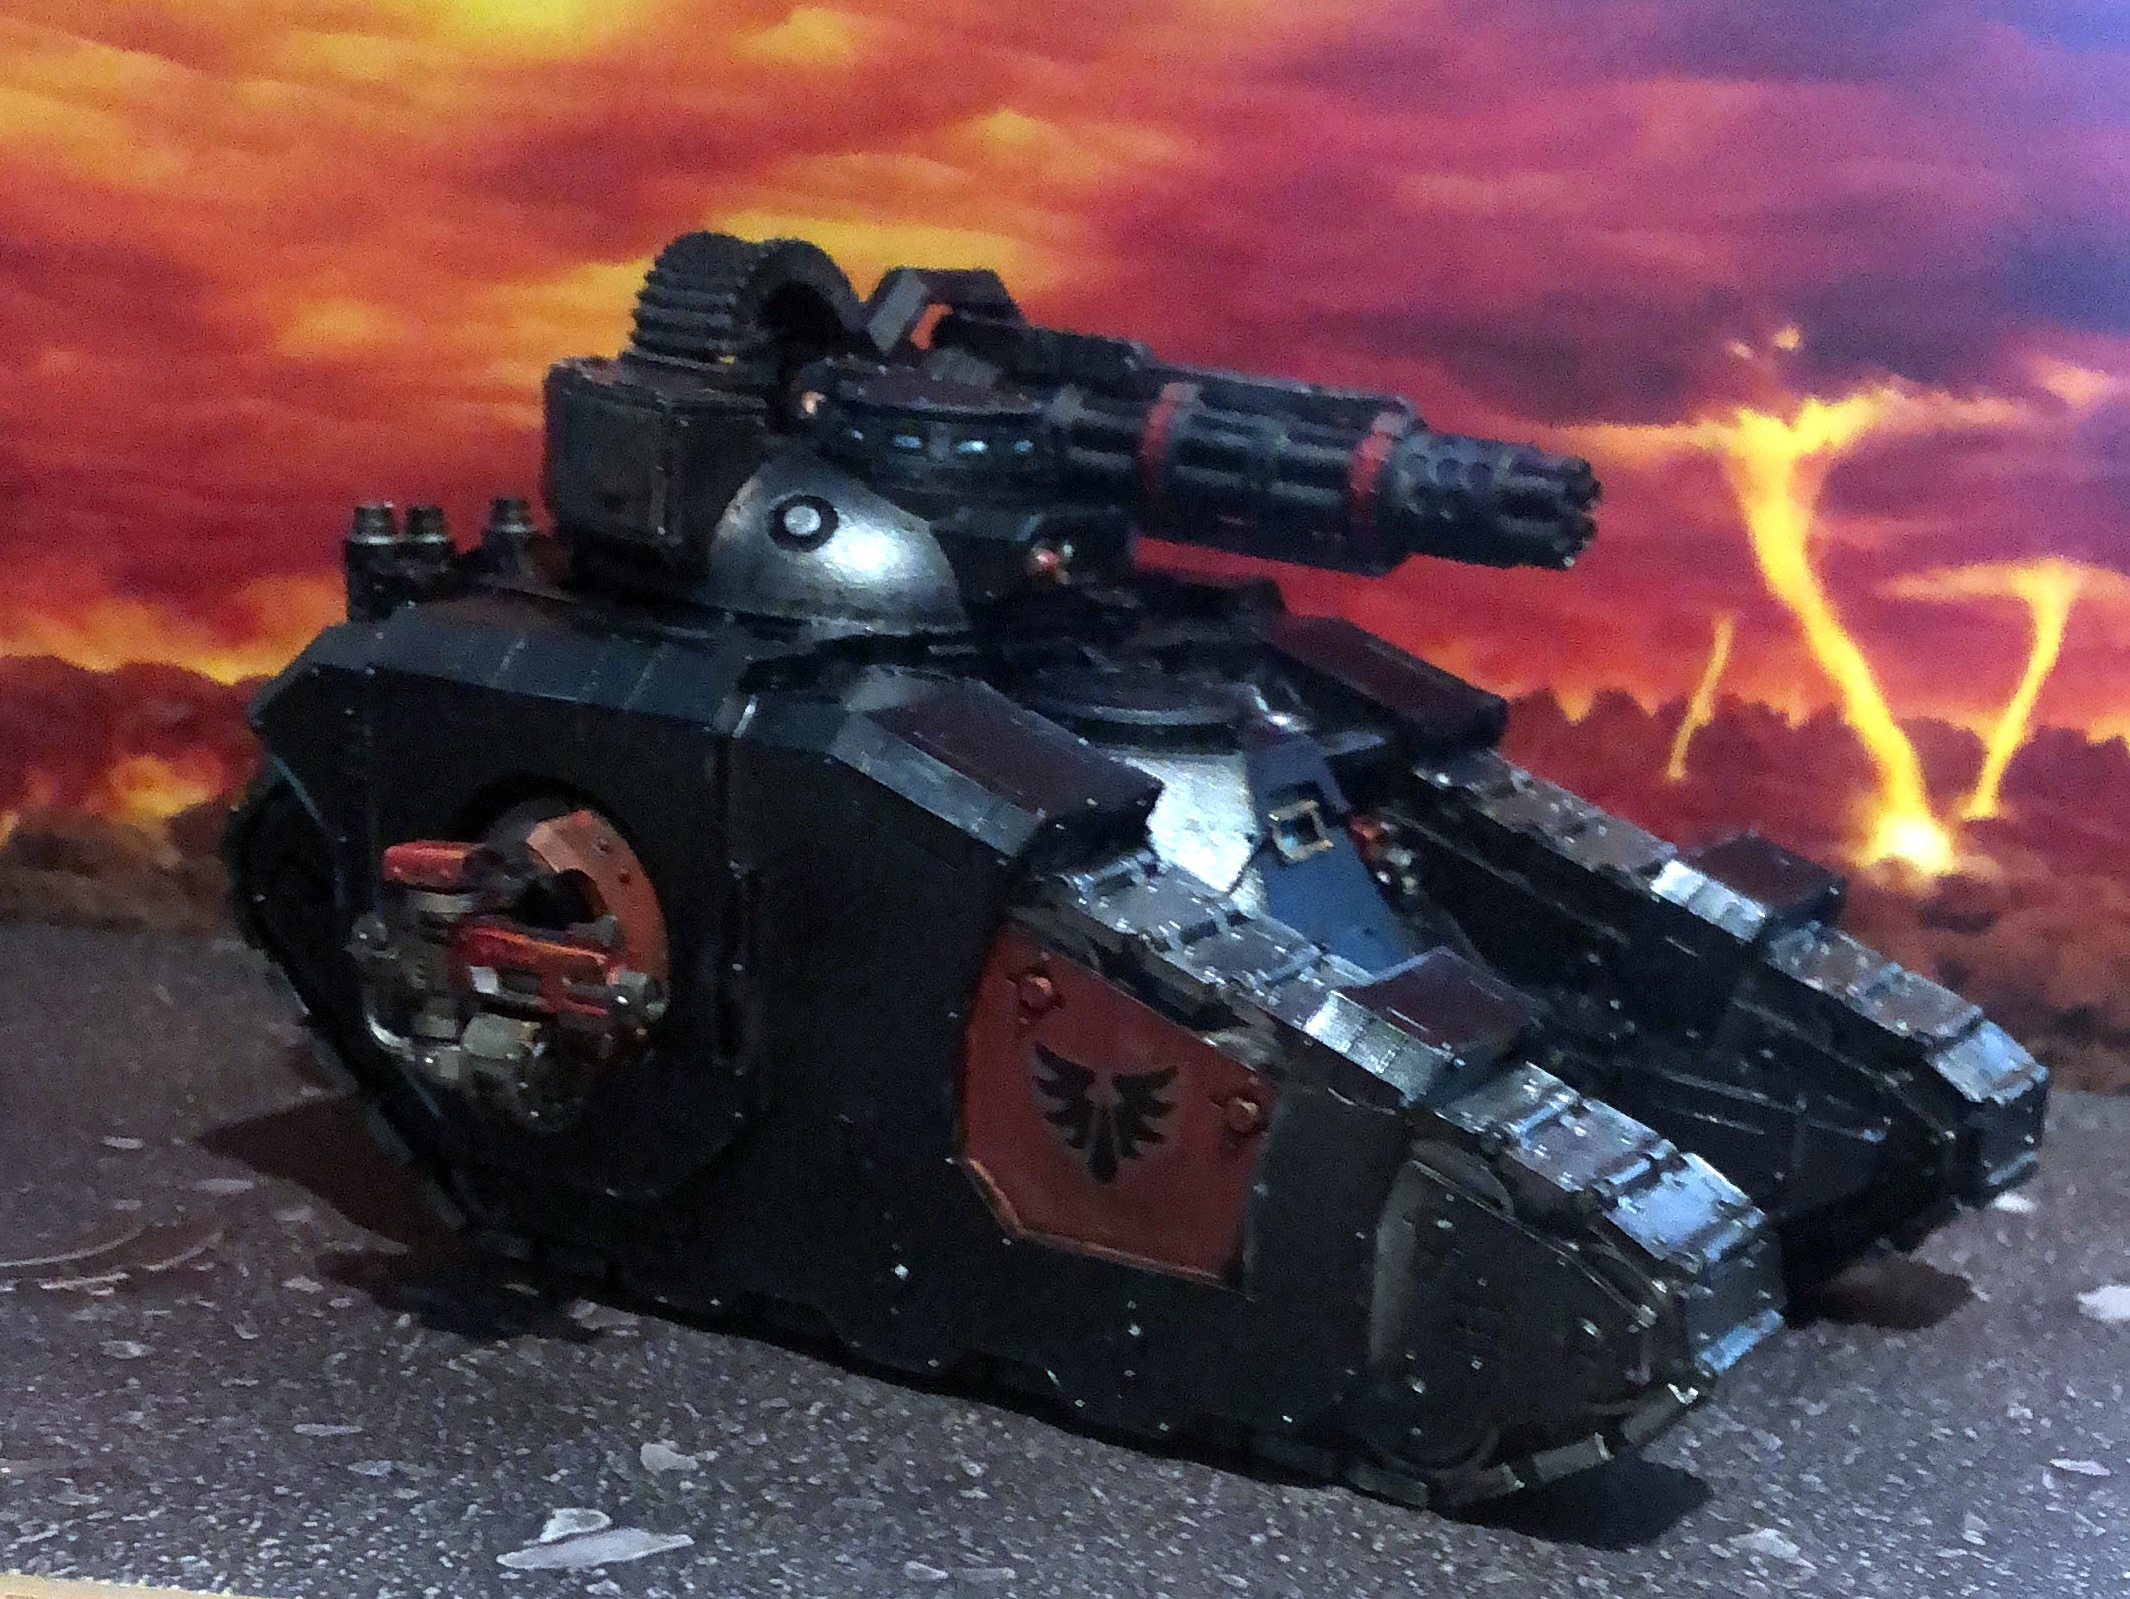
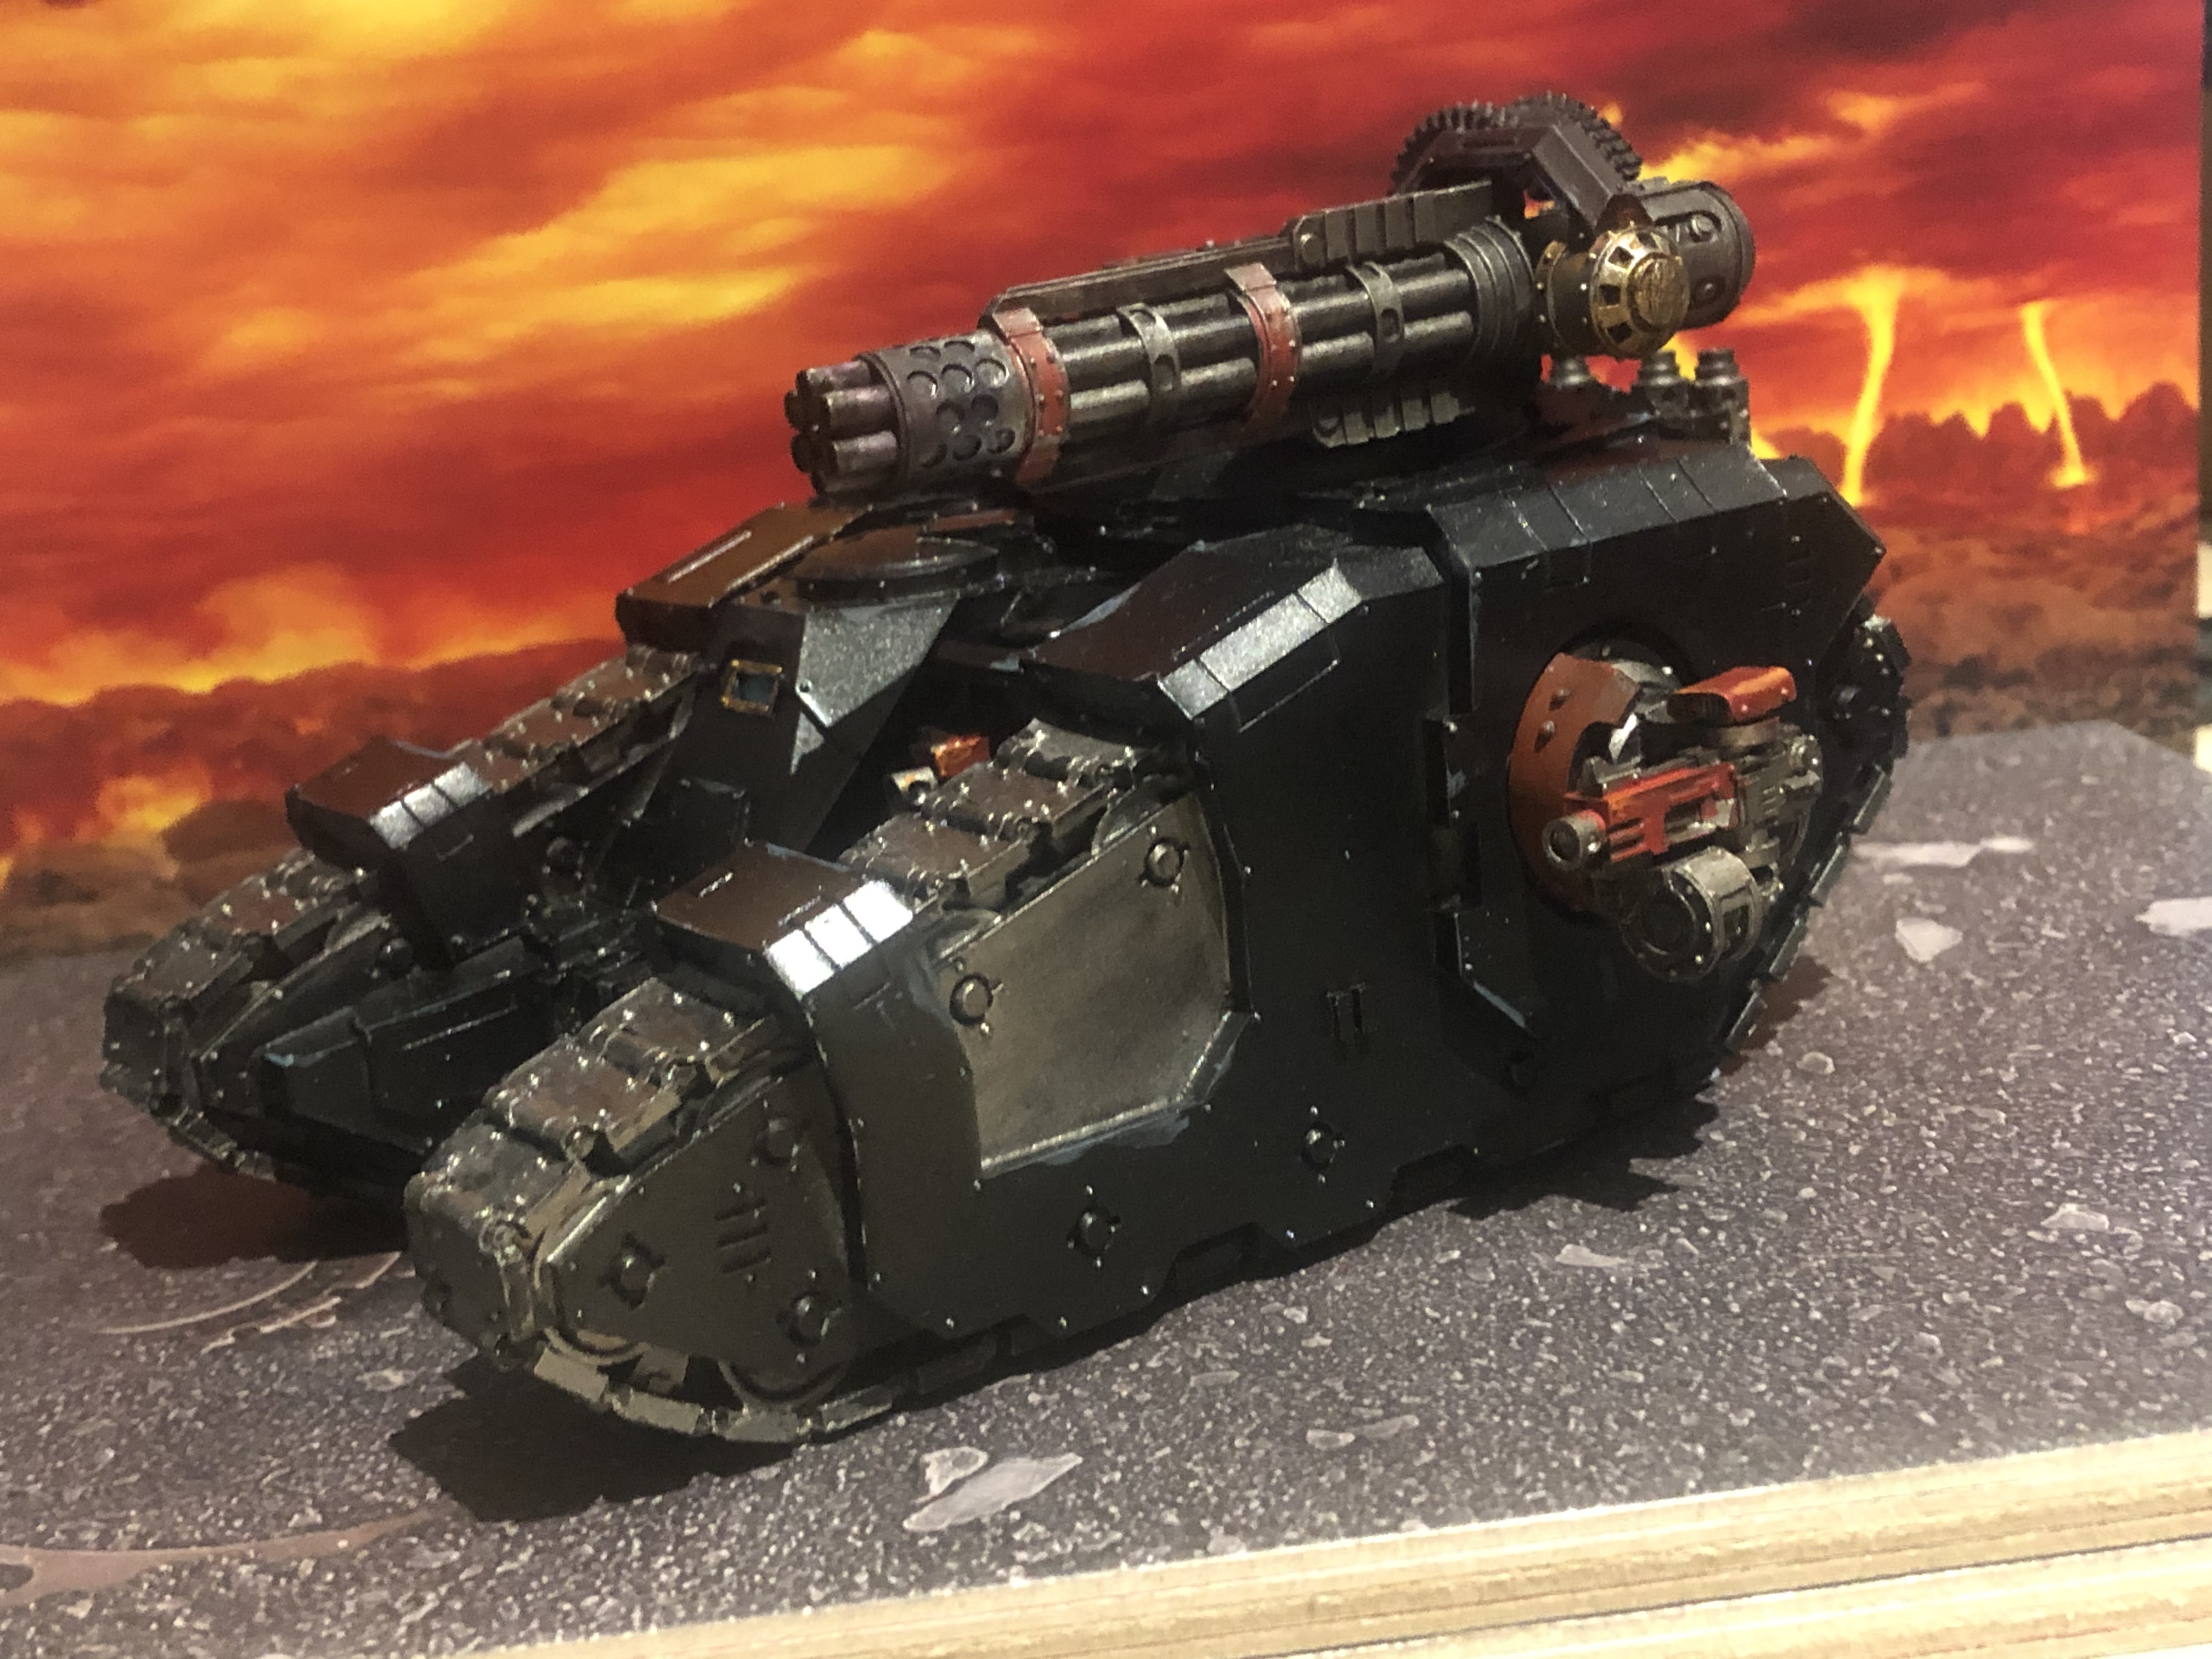
Up this week is 3 Sicaran FW tanks, the Omega, the Punisher and the Arcus, all for my Deathwatch force.


These have been painted the same as my force, the Metallic Black base, with Red for weapons. I've add the chapter symbols for the Dark Angels for the Omega (Plasma weaponary being their thing) Blood Angels for the Punisher (as they like it close) and Imperial Fists for the Arcus (for siege warfare with the missile launcher) Were these gifts to the Deathwatch, or reclaimed relics?
Dark Angels Deathwatch Omega Plasma Sicaran

Blood Angels Punisher Sicaran

Imperial Fists Arcus Sicaran
Really happy with the 3 tanks, they look great -and can't wait to use them in combat! LH (15pts)

6 Sept 2021

Relictors Space Marines - Sicaran Omega Tank Destroyer

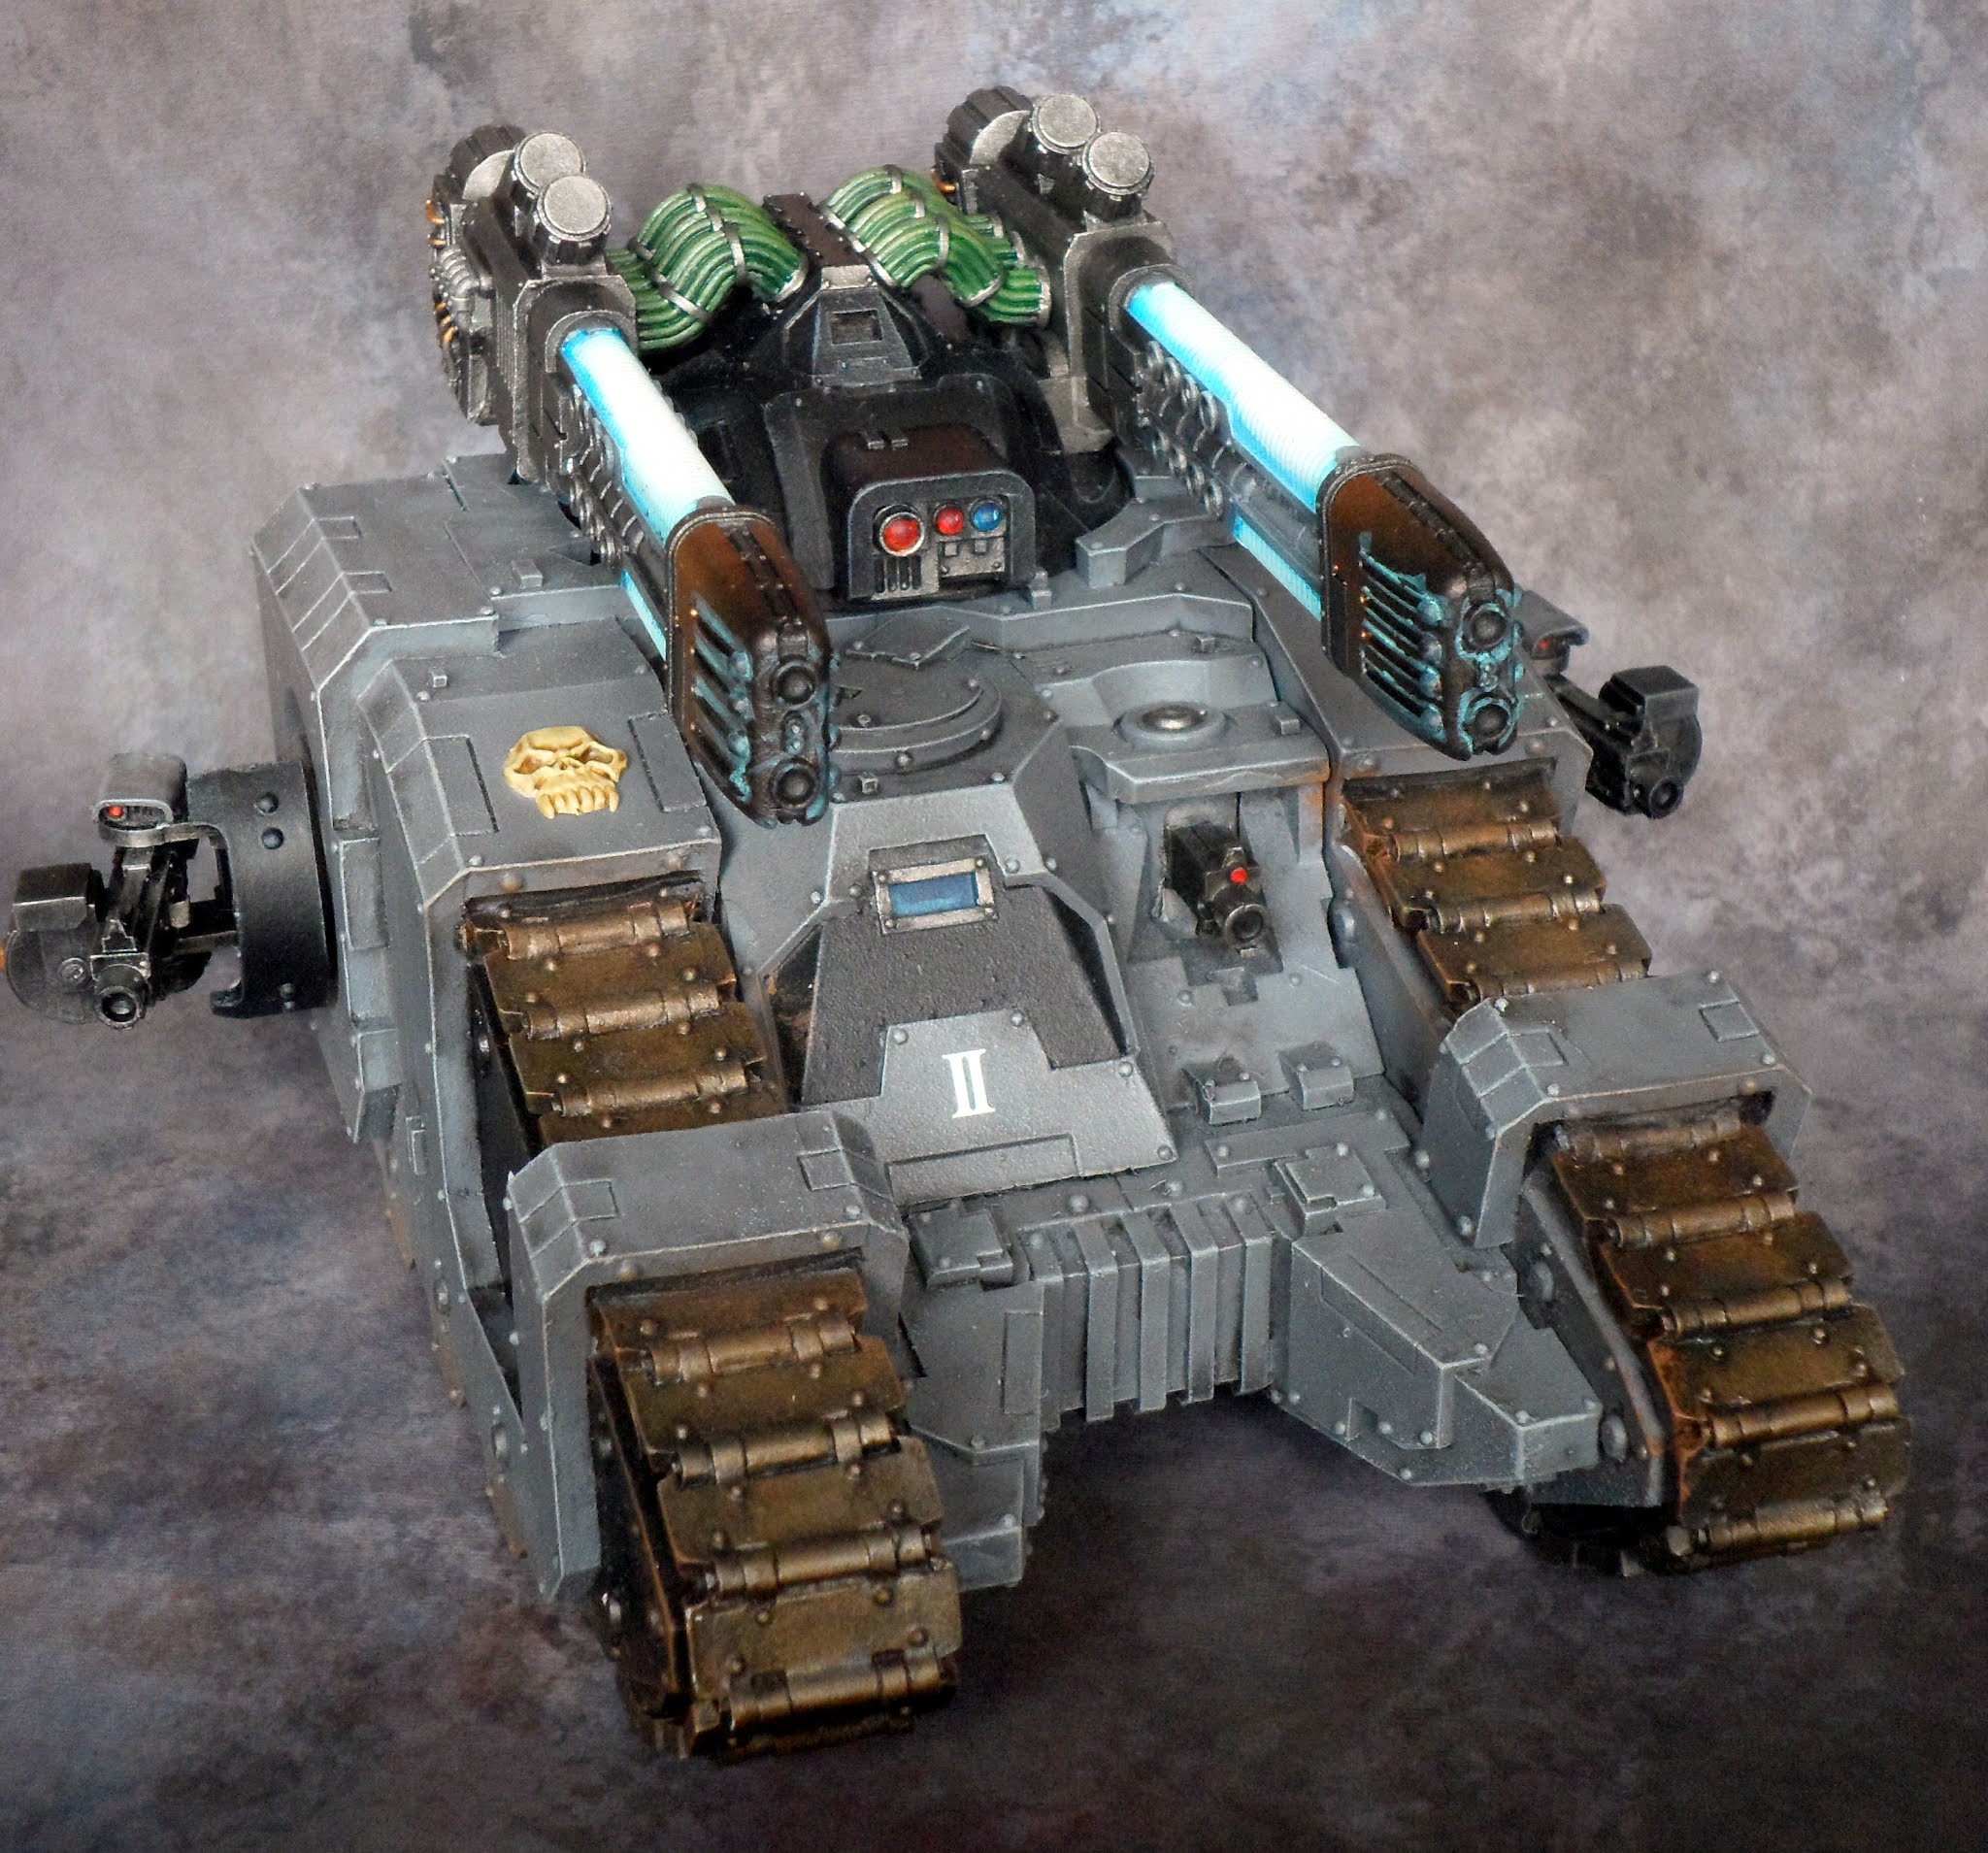
Hi All, thanks for dropping by. The latest addition to the Relictors Armoury is a Sicaran Omega Tank Destroyer, a completely oversized Plasma Array. When it first came out I wasn't so keen, however its sheer sillyness has grown on me and I quite like the ludicrous nature of the turret!
Retrofitted to allow the Sicaran hull to carry heavier firepower, the Omega is a formidable tank hunter. It utilises the speed provided by the Sicaran’s engines to apply overwhelming short range firepower in battle, racing forwards to ambush and obliterate the lumbering siege tanks of enemy columns.
I bought this on eBay as a World Eaters Sicaran, missing a few bits, sensor on the turret and ammo magazines on the Heavy Bolters. I added some spares from the bitz box and the sensor on the turret doesn't really notice as there is a huge sensor box on the front of the turret regardless!
I painted the turret black to match my Sicaran Battle Tank and the power cables my usual green, plus Plasma bright Blue and White, the Heavy Bolters are magnetised and I decided to echo the turret black on the armoured cowlings.
I do think Sicaran's are my favourite looking Space Marine Tank, its a good looking beast.
This was added to my extensive 5th Company... well, what's ANOTHER tank between friends!
And here they are both together, the Sicaran Battle Tank from 2015 and the newest addition, the Sicaran Omega Tank Destroyer.

Cheers, Siph (5pts)

24 Jul 2015

Relictors Space Marine Sicaran Battle Tank Finished - 6MMRPC

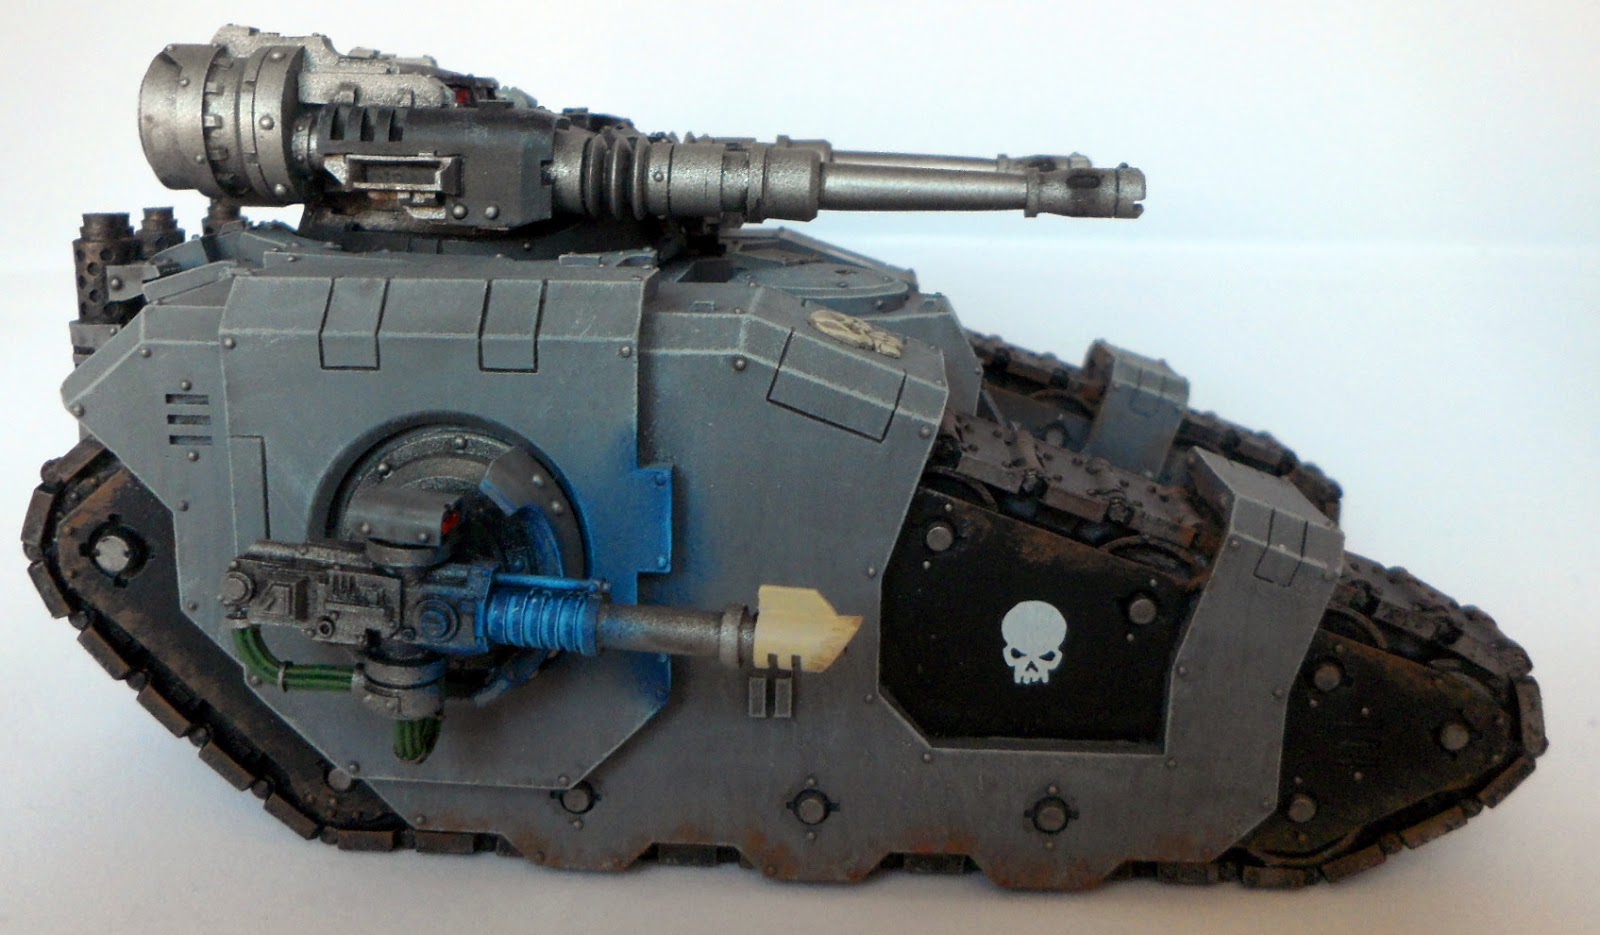
Hello Readers, thanks for dropping by. Here is my latest offering to the painting gods, an awesome FW Space Marine Sicaran Battle Tank! I absolutely love the brutal compact aesthetic of this tank. It screams destruction and 'da business'. No frills, just pure Astartes killing power.
Midway between the Predator and a Landraider, this tank sacrifices any transport capacity to mount the rapid firing Accelerator Autocannons, which Render and track skimmers - negating Jink saves.
Along with that the model comes with either Heavy Bolter sponsons or Lascannon sponsons, I went against the rule of cool (I love drum magazine Heavy Bolters) and went for the specialised role of Anti-Tank and mounted the Lascannons - but this gave me a chance to try out 6thDegree's OSL without an airbrush (tutorial here) and the end result is pretty cool, so maybe rule of cool prevailed after all...
Nothing special, just the rear, showing this Relic Sicaran has been seconded to the 5th Company Relictors. The grey is my usual recipe of Dawnstone (Codex Grey, or AP Uniform Grey Spray), with a Nuln Oil Wash (with a tip of the large tank brush dipped in Lahmian Medium to prevent the wash pooling and getting tide marks - I often get asked how I avoid streaks on larger vehicles), then a drybrush of Administratum Grey (Fortress Grey) and then 500 Boltgun Metal rivets later...
I've kept the transfers and embellishments at a minimum to show off the blue-glow effect. Transfers were applied over a gloss varnished patch, applied with Micro Set (sticks) and Micro Sol (melts the edges to look painted on) and sealed with gloss varnish. Once finished, the whole tank is sealed with Purity Seal matt varnish to protect and knock off the gloss effect, then the lenses/view ports are re-done with Gloss 'Ard Coat.
The top down view, shows off the ammo hopper feeds into the Accelerator Autocannons.
And if you were unsure of the size comparison between Landraiders and Predators, a useful photo comparison for you.
Can't wait to get this out on the new battlefield GameMat!

Thanks for reading, hope you enjoyed and found the tips useful. Cheers. Part of the 6 month mountain reducing painting challenge pile done! (6MMRPC)

17 Jul 2015

WIP - Relictors Sicaran Battle Tank - 6MMRPC

Today is the first real contribution to reducing my Mountain of Plastic and Resin, and my first pledge to the 6MMRPC cause. As in the spirit of the challenge I've posted my WIP shot, and will post once done, but for now you can see that it's a genuine FW Sicaran, none of  that undermining Chinese resin crap and I've armed it with lascannon sponsons against my rule of cool, as I loved the barrel magazine heavy bolters, but as an Anti-Tank tank, it made more sense for some higher strength, low AP weapons as well as the rending high rate of fire Accelerator Autocannons. And it will give me a chance to try out 6thDegree's Blue Glowing Effect Tutorial too. Do not fear, those heavy bolters will make their way onto a dakka Predator at some point as they are too good not to use.

The kit went together well, no filling required on the main body, the Accererator Cannons needed straightening as always and the sponsns are glued as they are just too fiddly.

This will mean all three Weemen have Sicarans! Nice stuff.

Thanks for stopping by!

23 Jun 2015

Weathered Metal Painting (Iron Warriors style) Tutorial

Hi all, in the past we have had a few comments asking about how I paint the metallics and weathered paint effect on the Warhound and my Iron Warriors, so I thought I would throw up a tutorial. I'm not saying I am a great painter and this is the right/most effective way to do it (I am sure there are other, better techniques and you might be able to miss a step or two) but this is the process I have nailed down and am happy with after quite a bit of trial and error.

Conveniently, I have a Sicaran that needs painting up, so I'll be using this in the example.

To start with, you need your metallic paints - I used to go off the 3 shade rule, using a dark, mid and light version of the colour to give shade and highlights - which completely works and I still do for infantry models - but for the bigger stuff I have added a mid-light shade for a bit more detail.

The colours I use (in lighting order) are Vallejo Gun Metal Grey, Vallejo Oily Steel, Citadel Ironbreaker (the optional one) and Citadel Runefang Steel. You can substitute them out for different brands - the idea is that they are just different shades.

All drybrushing on this example was using Citadels terrain (or big-ass) drybrush. It seems waaaay to big at first but gives a more consistent result than drybrushing big flat areas with a smaller 'large' drybrush. Infantry/samller mini's obviously requires a smaller drybrush.
Over a black undercoat, give the mini a basecoat of thinned Gunmetal Grey. You aren't after a perfect coat - just get a single layer on.
After that, give the entire thing a wash with black (Nuln Oil or similar). Again, this is just to darken areas ahead of the next step, so it doesn't have to be perfect.
Now overbrush (a bit more paint on the brush than drybrushing) the entire model with Gunmetal Grey. This is going to give you the good basecoat you want and create shadows in recesses where the black wash has pooled. I did this to the entire model as this will be the base of all the metal areas of the model.
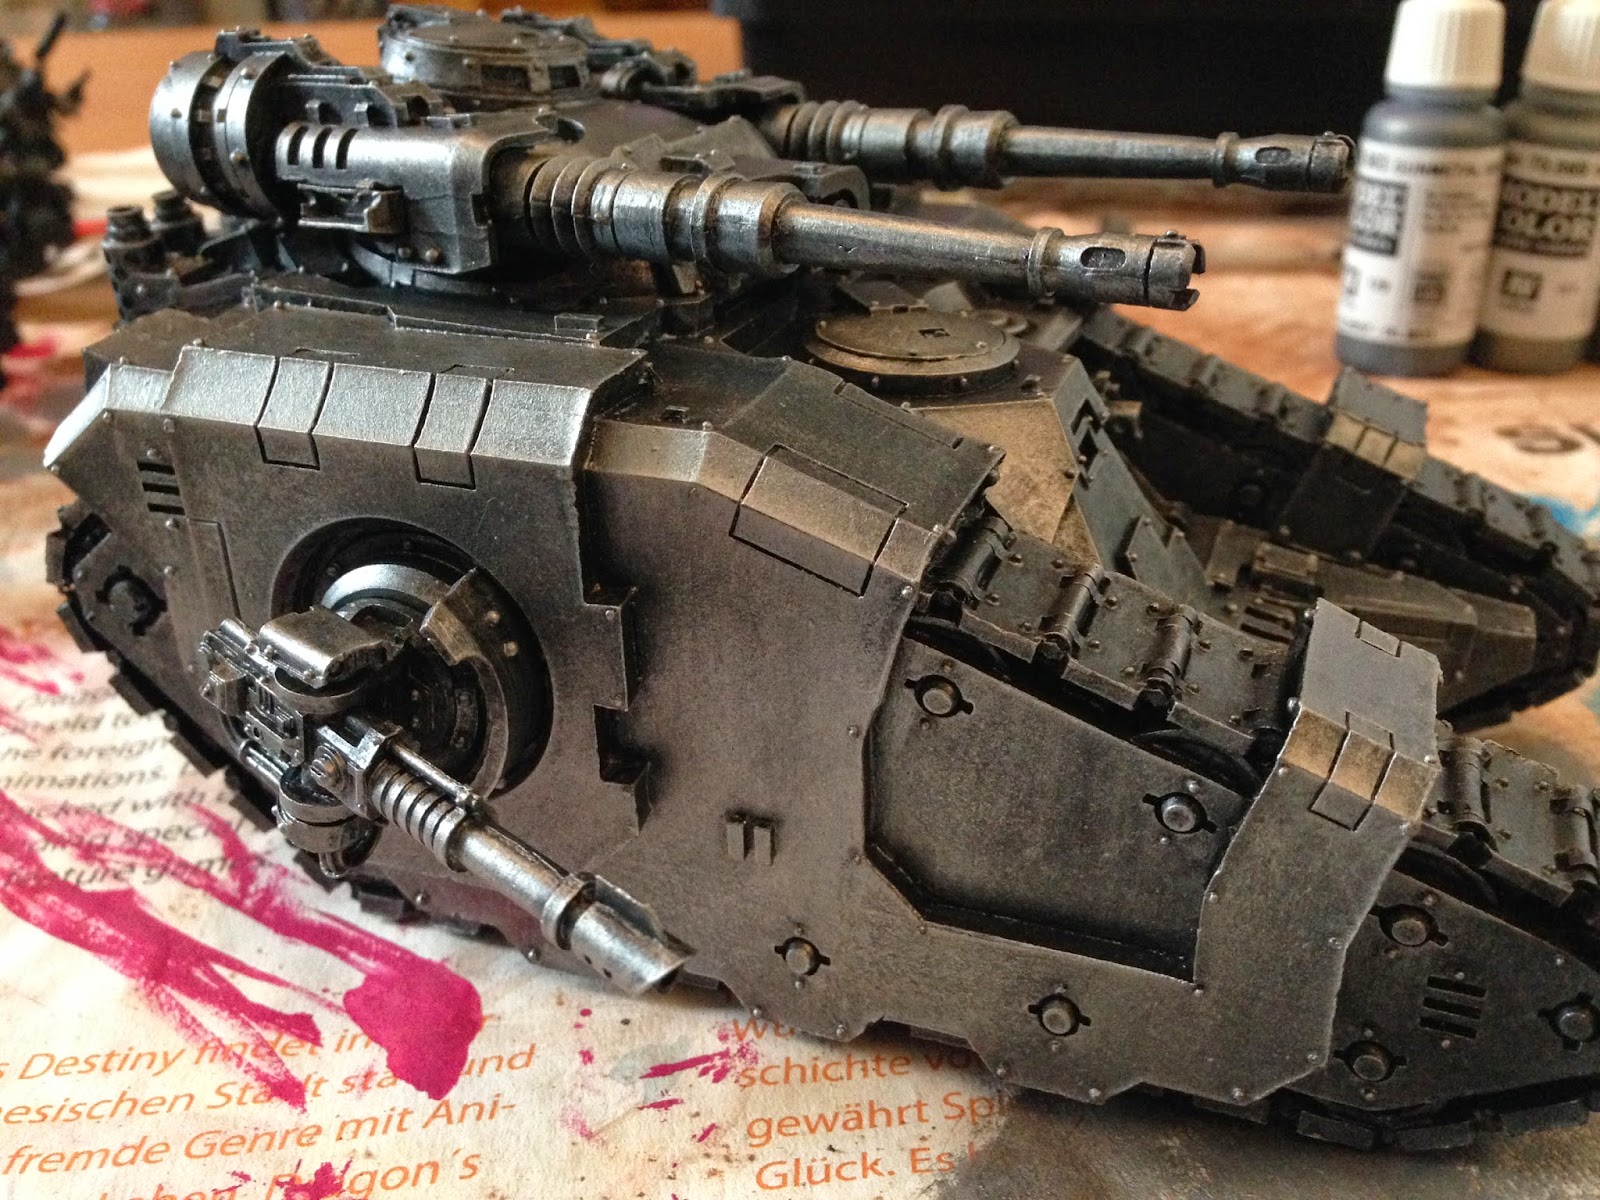
Next, drybrush with Oily Steel - this is going to brighten all the metallics. Its good if this is 'patchy' (a bad word, but a few strokes that are too heavy or light will start to give the surface some uneven  texture you are after). At this point I was only painting the outer armour of the tank - I want the treads darker and waeathered, so didn't touch them and the inner armour parts are going to be painted with chevrons later, so I didn't focus/worry about them.
The optional step - a light drybrush with Ironbreaker to highlight the edges and add a few more 'scratches'.
I usually roll the next two steps into one, but took time to split them out to show you all better. So here I line-highlighted every edge and line with Runefang Steel.
Then I went back with Runefang Steel and painted in scratches all of the metallics. I tried to focus on exposed edges where the tracks would throw up debris to cause scratches, or where impact strikes might happen from bullets etc. Less is more with these - also, try to use a really thin brush and keep scratches fine.
With the silver metallics pretty much done now, I throw down the other metallics I will be using - in this case some golds and bronzes.
 These are worked-up in exactly the same way using lighter bronzes/golds and finished with a Runefang highlight.
 
Now we are starting on the distressed paint - with this being Iron Warriors, there will obviously be hazard stripes, so the base yellow goes down first.
Next up, I simply draw the stripes on by hand using a pencil. You could use masking tape or rulers, but I've found that because the paintjob is going to be distressed later, a half-decent freehand straight line does the job fine.
The black lines are painted on - again, just a freehand straight line is fine for this.
Ok - now to start messing up the paintwork. With a brown paint (I use Mournfang Brown), throw down a layer that will form the basis of the damaged paint - I focus on the edges of surfaces and around the tracks, but also try and spread down to open, flat surfaces to break them up a bit. I use an old knackered brush and stiple it it on (the splayed hairs nicely add to the effect).
Going back to the metallics, starting with the darker metal start stipling with a smaller brush over the brown. You aren't aiming to completely cover the brown (you might need a fine detail brush to add some spots in the middle of any smaller brown areas).
Next it's the mid-metallic, stipling again, but probably applying about half as much as previously.
Finally its the lightest metallic, adding only a little with a fine detail brush to mark the surface scratches.
Ok, that's the metallics finished - I try and tie everything together with a wash of Agrax - it will bring all the colours down and take away some of the brighter metallics (try not to let it collect or become patchy).
Now onto the mud; I use Dark Earth weathering powders by Secret Weapon Miniatures, mixing with some matt acrylic medium to form a cross between a paint and a paste (you are going to be painting it on loosely, but its good to have a few clumps of thicker powder/paint for texture).

Using a pretty big old knackered brush, I stiple the mix onto the tracks and anywhere I think mud is going to fly off onto the tank.
Once dry, I finish the model with some dry weathering powder, applied over the muddy parts and into crevasses/areas of the tank where I think dust will collect. I try and brush some onto flatter areas to break them up again. Then its just a matter of a quick shot with Purity Seal to seal the weathering powder onto the mini and the jobs done!
Hope you like the effect and you find this useful, as ever C&Cs are appreciated.

Thanks for dropping by folks!.
Blog Widget by LinkWithin