28 Dec 2011

Relictors Command Squad Apothecary

So I have been slowly plodding along with the previous post project Drop Pods but get easily distracted... This is a product of that distraction. Here is the latest addition to the ever growing Relictor Battle Company, an Apothecary for the Command Squad.

I have had the parts for his backpack for a while now, ever since I got the bits packs for the Fallen Backpacks on my Sternguard, found here, each bits pack came with 4 of these and one Fabius Bile Backpack. So my plan hatched and since these guys dabble a little with Chaos, a perfect blend for my Apothecary with a few plastic enhancements - the helix and the Spotlight.

Hope you like? Comments welcome, thanks for looking.

18 Dec 2011

Christmas Holiday Project - Relictor Space Marine Drop Pods

This year I am home for Christmas, so I thought I'd crack on with this long overdue project, to do some more Drop Pods - so I too can mess up the best laid plans of Pornstarjedi's Ultramarines... he does it every time to me with his 4 Pods!

I think I'll get bored of doing the monotony of 20 this and 20 that, so expect some minor diversions and maybe some building my new FW goodies, Armoured Proteus and a Proteus Landraider, plus getting on with any other unfinished Relictors... but any progress is good progress right?

The vanes have been basecoated so far, and there is a shovel load of drybrushing Boltgun Metal to do!

14 Dec 2011

Blog Wars 2 – Game Three (‘Nids vs. Imperial Guard)

So two games in, against two Blood Angels armies and I am feeling pretty down – what I need now is a decent win to drag my bulbous ass back up the leaderboard.


Third game was against Jon Morrison from the Faulty Dice blog and his Imperial Guard army:


HQ


Company Command Squad
Castellan Creed
Seargent Kell


Troops
Platoon Command Squad (Autocannon)
2 x Infantry Squad (Autocannons)
2 x Heavy Weapons Team (Autocannons)
Veteran Squad (Bastonne/Grenadiers/Meltaguns)

Elites
Guardsman Marbo
Storm Trooper Squad (5 Extra Troopers)

Fast Attack
2 x Vendetta Gunship
Hellhound Squadron (2)

Heavy Support
Leman Russ Exterminator (Pask)


My list is here.


The mission had 5 objectives, special deployment and extra TP’s for holding an objective with your Unique Character.


This was the only Blog Wars 2 mission I tested in advance and I had already decided that I wanted to be the attacker – there’s nothing more pitiful than playing ‘Nids defensively.


I also didn’t look at Jon’s list too closely and when I saw that he was Imperial Guard, I just had an image of me bunkered down and being shot to hell for 4 turns, before he mobilised and grabbed the objectives last turn – I wanted him to be the one sat there while I came at him. It turns out that wasn’t a huge problem as Jon’s list didn’t contain a huge amount of mech.


Being the attacker, I grabbed first turn and deployed aggressively, hoping to get to his lines ASAP. There was a convenient building in the middle of the table where I planned on leaving my Hive Guard – out of sight, but in range of most of the board.Jon set up in the middle of the board opposite me – reserving his Hellhounds.My Turn 1 and shooting from the TFex and Hive Guards wrecked a Vendetta in Jon’s deployment area and killed a few Guardsmen. Everything legged if forward. Jon moved the other Vendetta to my right flank behind some trees and his Storm Troopers jumped out – evidently a few of the ‘chutes didn’t open…*snigger*… Shooting from the Vendetta killed a couple of Hive Guard. Jon’s Orders went on shooting and stupid volumes of Autocannon shots took the Trygon down to 1 wound.My Turn 2 and on the right flank Gaunts were spawned and moved into a position to shoot the Shock Trooper. On the left flank, everything moved forwards and was almost in range of the Guard deployment area. Shooting from the TFex/Hive Guards took out the second Vendetta (killing a Gaunt or two in the resulting crash). Any remaining shots went into Gaurdsmen – but was largely ineffective.


Jon’s turn 2 and movements were made to get into position to take the coming assault. Everything opened fire but after the smoke had cleared, minimal damage was done (the Trygon lost its last wound, a Gaunt screen died and the Swarmlord unit lost a wound or two). My turn 3 and I was in charge range. My thinking is that if most of my army is left and in your deployment area – its already too late for you. I let a couple of small Gaunt broods hang back to sit on objectives and got everything else in shooting/charging range.


The TFex opened fire on Pask in the Leman and it exploded under the single shot. Gaunts fired into Shocktroopers and Guardsmen, softening them for the assault, and the Swarmlord cast Leech Essence – killing a Guardsman and regenerating a wound.In combat, the Shocktroopers were wiped out – as were the Gaurds around the Command Squad. In the centre of the deployment area, dozens of Gaunts fought against dozens of Gaurdsmen (it was really epic …just like some of the ‘Nid fluff!) Jon’s turn 3 and what wasn’t in combat opened fire on the Swarmlord who was currently sat in the open (a wound was lost and a Tyrant Guard died). Things got stupidly intense as Marbo turned up and the entire Command Squad backed-up to be exactly out of range of the upcoming blast – but be able to charge in after (I was obviously praying for a miss and generous scatter). Marbo hit and another couple of wounds came of the unit. Jon then charged his Command Squad into the Swarmlord…much to my amusement. In combat the Swarmlord killed everyone apart from the Unique Characters, who failed to any damage in return.


My turn 4 and everything that isn’t in combat moves to join in. Due to some heinous rolls, Swarmlord only manages to kill one of the Characters its tied up with and the unit takes a wound in return. More Gaurdsmen and Gaunts die in the centre, but they are still locked in combat.Jon brings in his Hellhounds on my right flank and proceeds to wipe out all but 1 Gaunt on the objective over there. In combat more Gaunts/Guardsmen die and Swarmlord finally finishes off the Command Squad (killing Mephiston was easier than that!) My turn 5 and its all about mopping up now. Good ol’Swarmy charges over to a remaining Heavy squad hiding in some trees and wipes them out. In the middle of the Guard deployment area, the last of the Gaurds are wiped out wipe a Tervigon and the TFex join in (I swear the Tervigon killed 1 Guard by sitting on it…). The other Tervigon charges the Hellhound….scores a hit….but only glances so the Hellhound cant fire next turn.Jon’s turn 6 and he only had the Hellhounds left – they move around a bit and shoot the Tervigon – removing a wound.My turn 7; instead of going for the Hellhounds, the Tervigon sits on the objective next to it. The Swarmlord, other Tervigon and Gaunts follows suit on three other objectives. The TFex takes a pot-shot at a Hellhound and manages to remove its weapon.


In Jon’s turn I think he shoots something – but not much gets hurt.


‘Nids win 5-0 (2TPs for Swarmlord claiming an objective) and about 1600 VPs woot!


That was a great game and Jon was a really nice guy and a good opponent to play against. I just think a foot-Guard list probably wasn’t the best match-up for ‘Nids in this mission.


Despite the two previous losses – the abundance of TP’s takes me from near the bottom of the leaderboard to 12th place overall – which I can live with.

13 Dec 2011

Blog Wars 2 – Game Two (‘Nids vs. Blood Angels *again*)

Second game of the day was against Matt Greenwood’s Blood Angels. I’m not really sure what happened here…maybe I was drawn into a false sense of security from my previous game against Blood Angels, maybe I got really unlucky, maybe I just played completely crap…? Either way the game did not go well…

Matt’s list was something like:

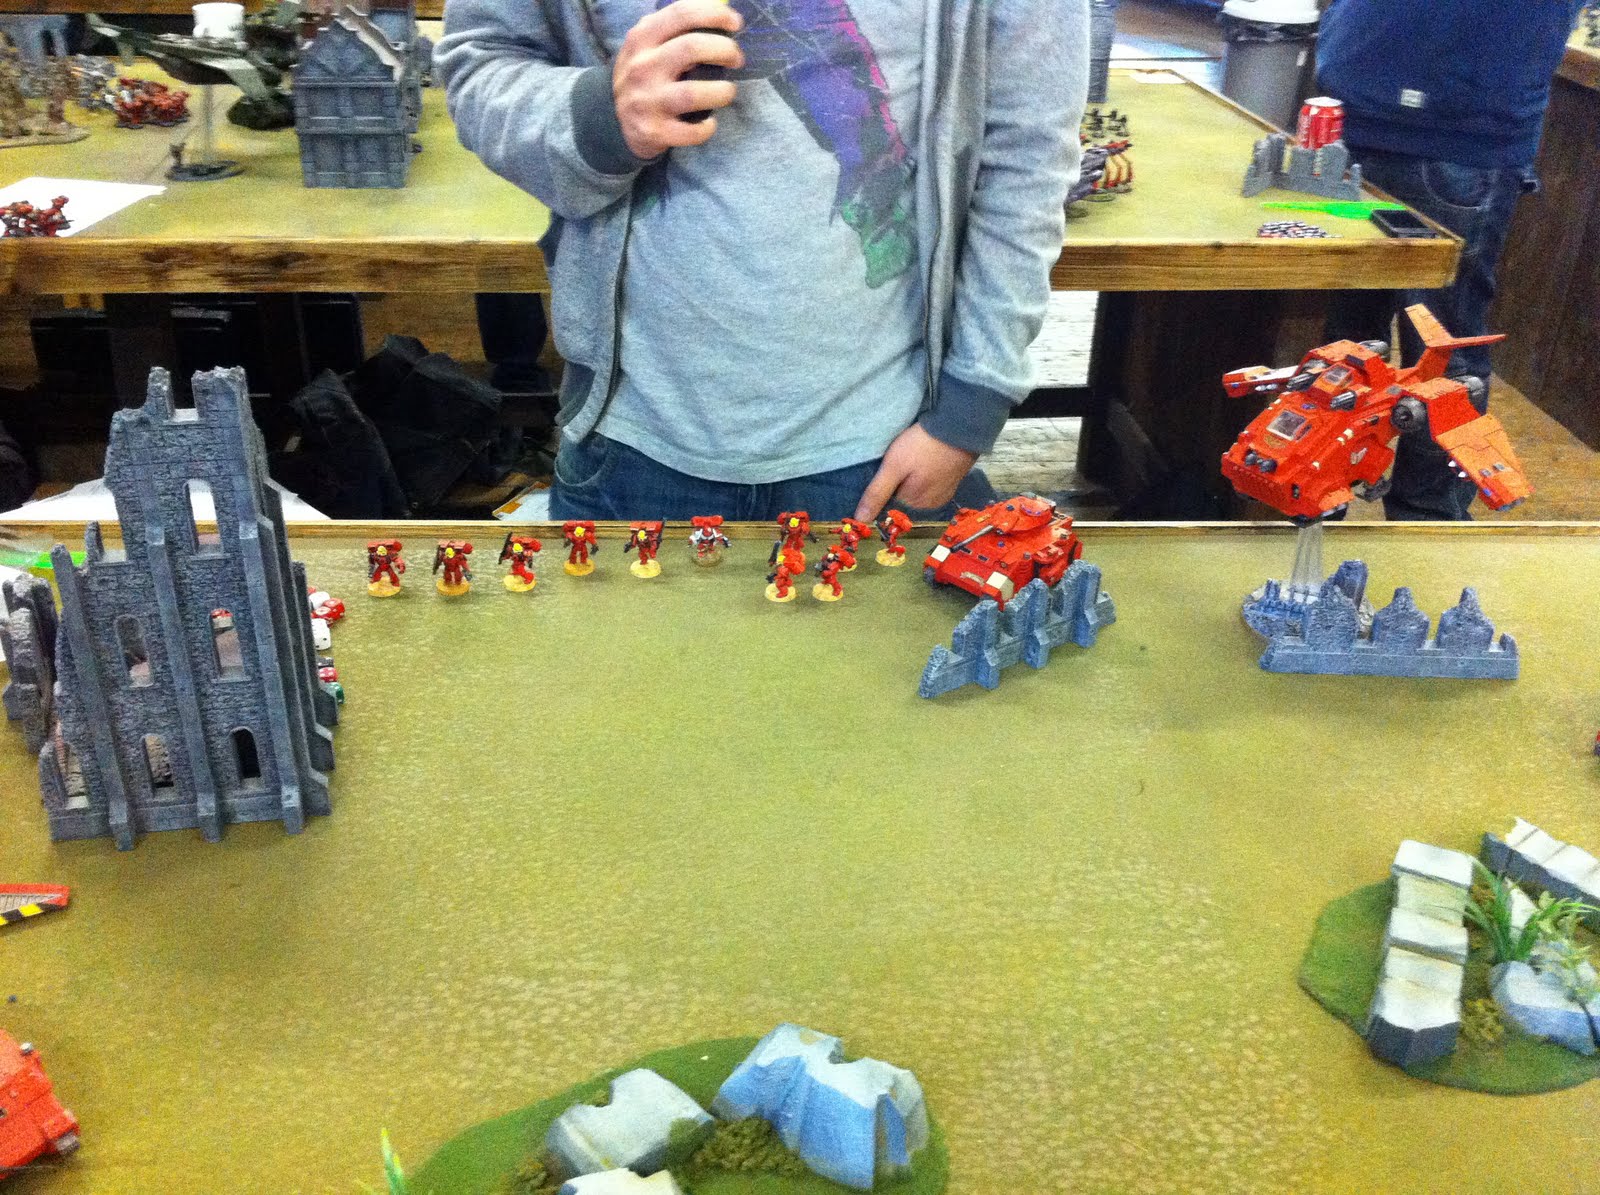
Stormraven carrying Mephiston and a Furioso Dreadnaught

Furioso Dreadnaught in a Drop Pod

2 x Predator tanks

4 x Jump Pack Assault Marine squads

Baal (of the flamer variety)

LinkMy list is here.

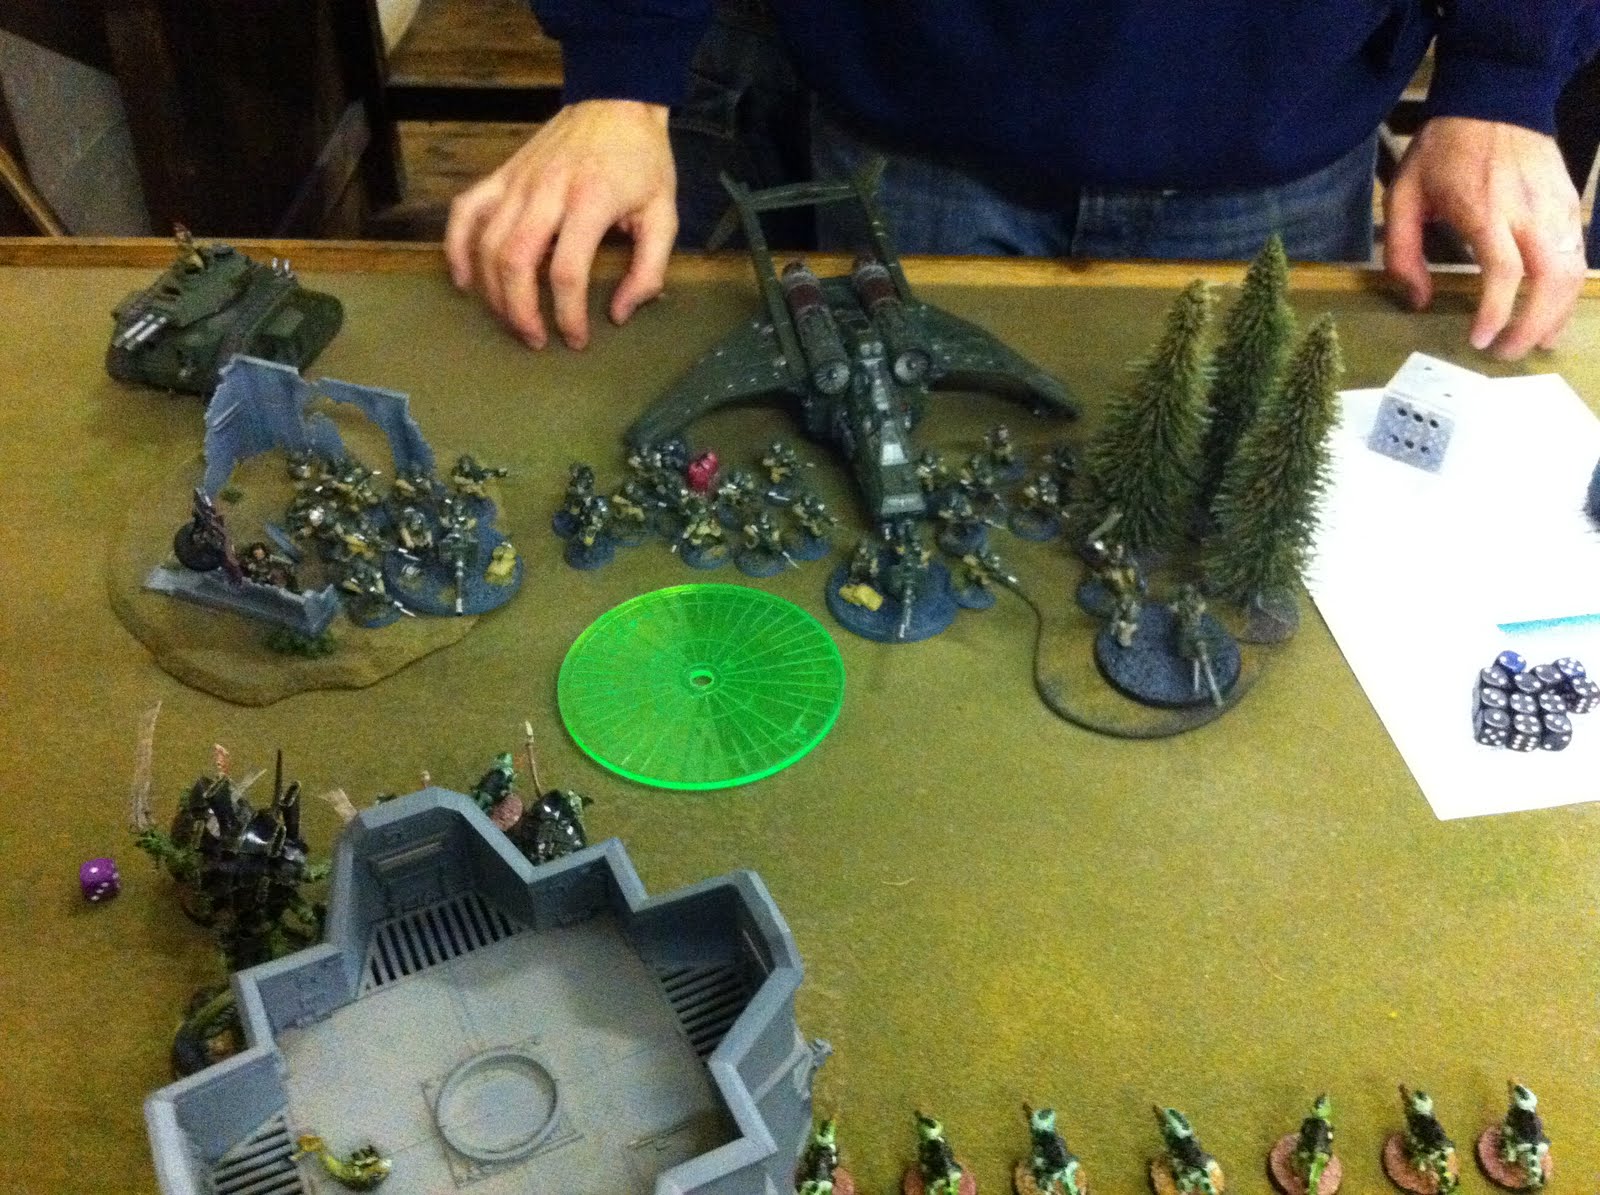
The mission was capturing table quarters with a spearhead deployment.

Matt won the roll to go first and deployed everything in the opposite corner. Seeing as how I needed quarters, I planned on trying to control the centre and then spread out from there – so deployed as close to the middle ground as possible whilst getting cover.

Matt then used his Scout move to get the Baal right behind me.

Matts first turn and he spread his Assault Marines out and got his Stormraven and Predators into firing positions. A combination of shooting killed a load of Gaunts and took some wounds off the TFex.

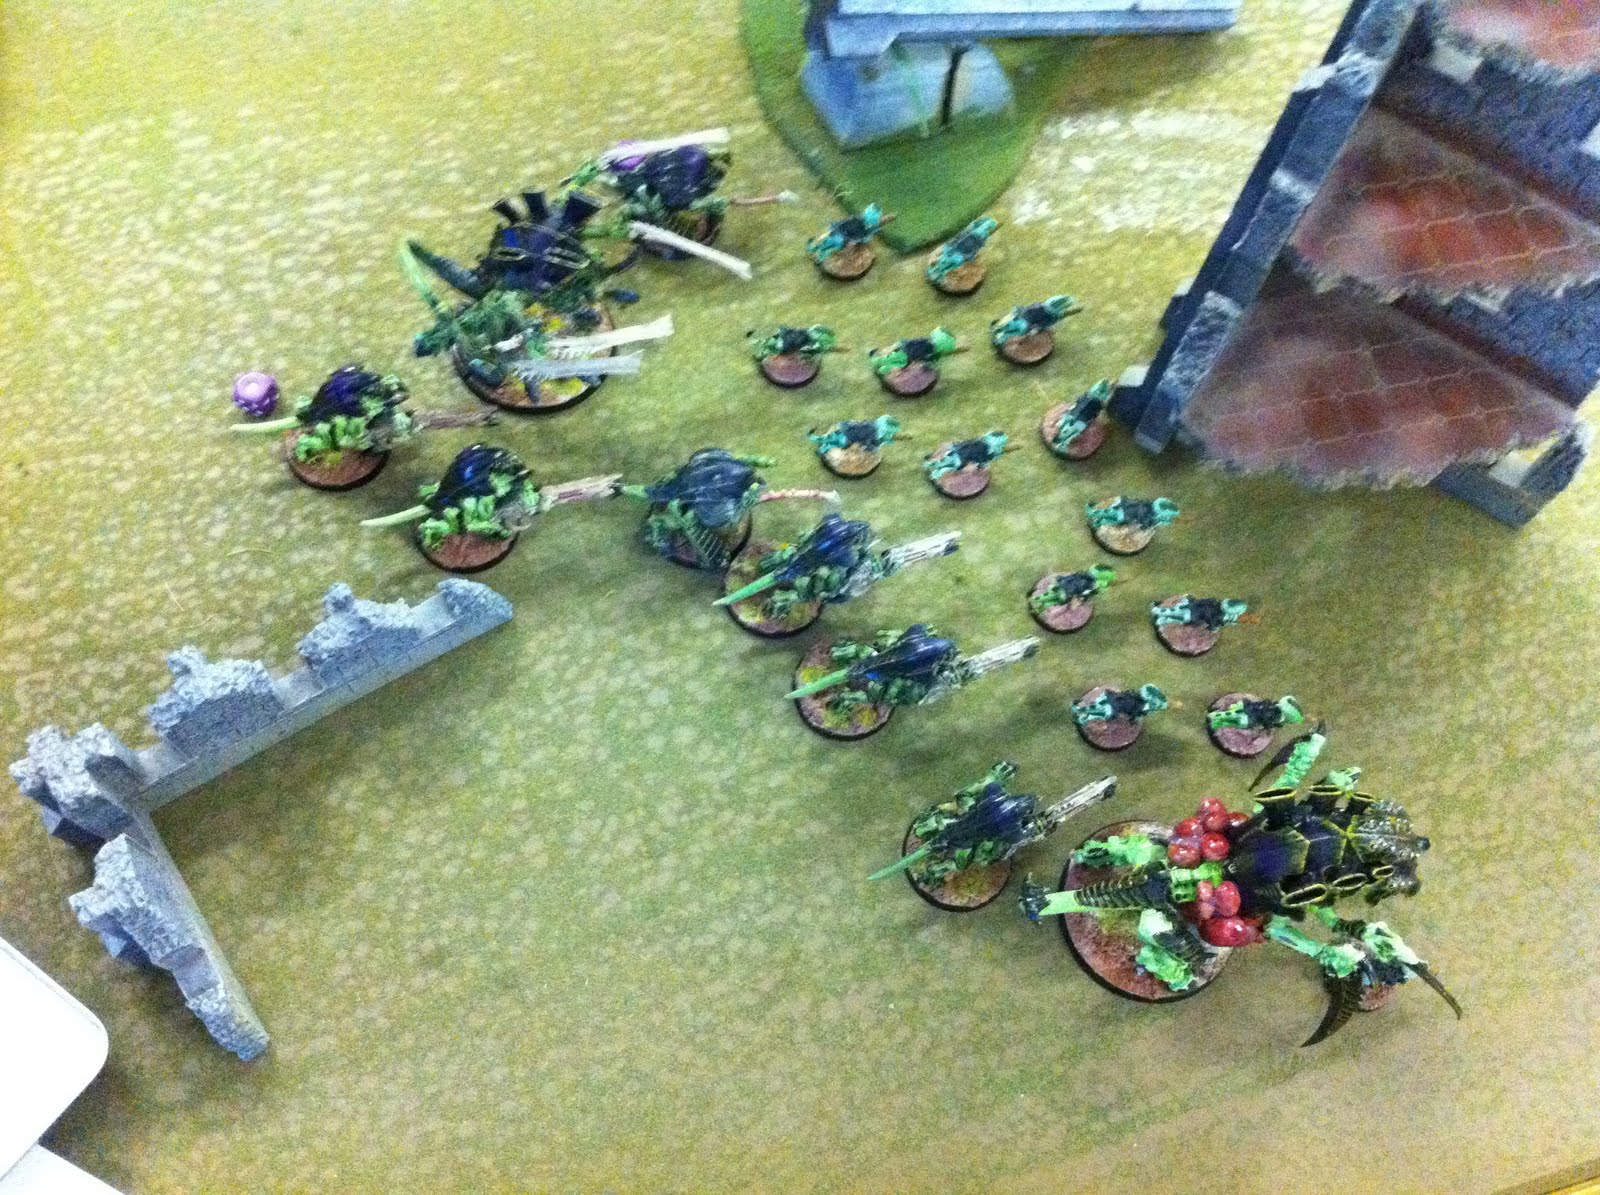
The ‘Nids spread out into a position to meet the Blood Angels and I retaliated to the shooting by taking the turret off the Baal - making it pretty useless. I fired at the Stormraven with the TFex. Nothing happened.

Turn 2 and Matt dropped the Furioso Pod right behind me. The Assault Squads and Stormraven spread out more to try and take control of the 3 table quarters. Shooting from the whole army took the TFex down to a single wound.

I mirrored the Blood Angel advance – the Swarmlord moving left with Gaunts and a Tervigon and the Trygon went right with another Tervigon and Gaunts. The Hive Guard milled around the middle of the table to stay in range of targets. I tried to take the Furioso down with some shooting but failed. With my TFex looking very dead next turn (and not knowing about Furioso’s) I charged the nearby Dread hoping to get lucky…*squish*…I wasn’t.

Turn 3 and the Blood Angels continued their advance – shooting took a wound or two off the Swarmlord unit and the nearby Tervigon. The Furioso charged the Tervigon and managed to kill it with its ridiculous-reproducing-attacks-that-seemed-specifically-designed-to-piss-all-over-‘Nid-monstrous-creatures (as you can tell, I was slightly upset by this). The Tervigon died without striking back, killing a number of nearby Gaunts.

My Turn 3 and I’m 2 MC’s down plus wounds being taken off units all over the place…not good. My right flank continued to advance, but my left flank was all but decimated (there were two small broods of Gaunts milling around). Shooting managed to immobilise the Stormraven while it was still close to its deployment zone – meaning that the other Furioso and Mephiston would have to foot slog it (its not like Meph can fly is it?!).

There was no way I was going to let the Furioso rampage around with that sort of killing power so I threw the Swarmlord at it. The Furioso fell apart.

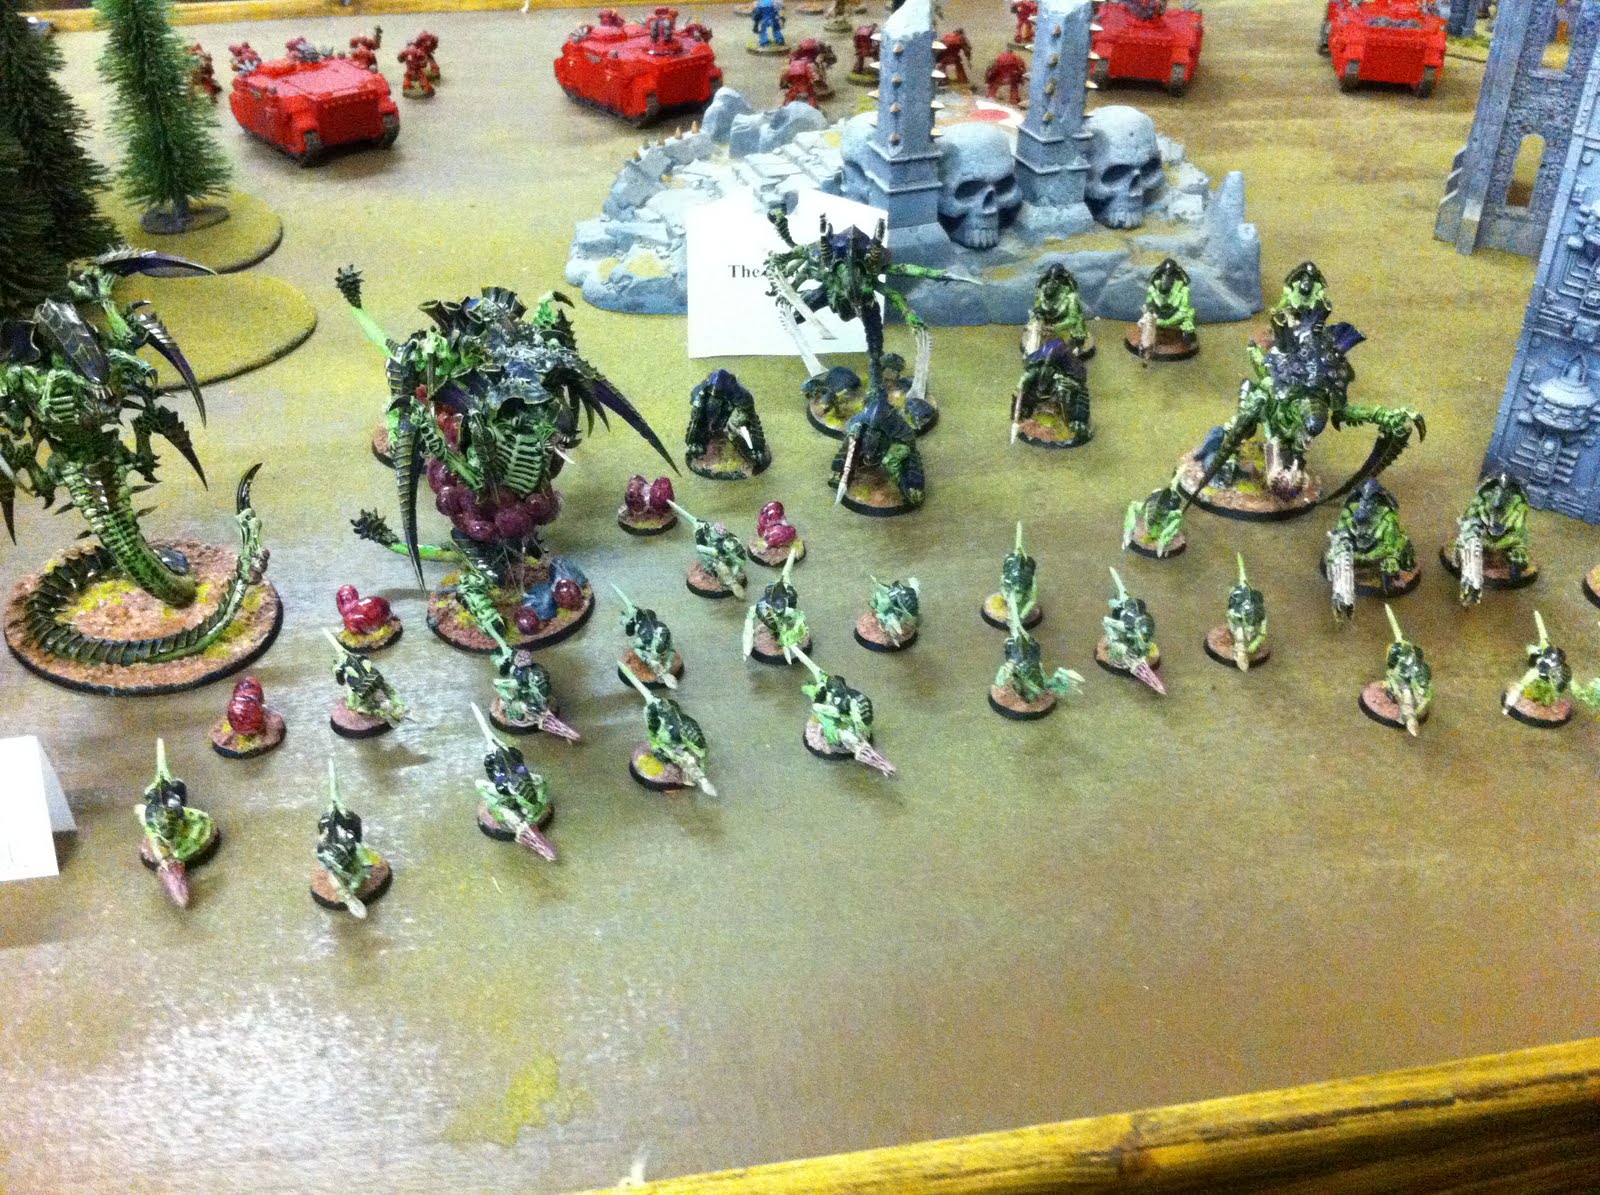
Turn 4 and Matt advanced Meph, the Furioso and two Assault Marine squads into my right flank. A single Assault squad stayed in his deployment holding that quarter and the another one moved to my left flank. Shooting hurt the Swarmlord and softened up the Trygon for Mephiston to charge in and kill it in a single round of combat.

With my right flank now getting pulverised I ran Swarmlord over as quickly as possible to support. A small unit of Gaunts were chasing around a weapon-less Baal using it as mobile cover. One brood Hive Guards managed to take a wound off Mephiston whilst the other tried to hit the Furioso…but failed to do any damage.

Turn 5 and Matt sent a unit of Assault Marines on my left flank to finish of the Gaunts contesting it. Shots seemed to come from everywhere at the Swarmlord and more wounds were lost. The Furioso managed to get the charge on the remaining Tervigon that I thought I had left out of range. Stupid attacks later and the Tervigon was dead… I think Mephiston and a squad of Assault Marines managed to walk through most of the Gaunts and the Hive Guard that were hanging around my right flank. Mephiston did manage to get Perils of the Warp and lost a wound – small blessings and all that…

There was no way for me to win now; I had the Swarmlord unit with a smattering of wounds left, the remnants of a brood of Hive Guard and some straggling Gaunts. Shots were fired into the nearby Assault Marine squards, but most were saved thanks to FNP. The Swarmlord charged Mephiston (I might not win – but I will take him with me…) and killed him outright with no problems.

The game unmercifully goes on to turn 6.

Matt is now in a position to hold 3 table quarters and with some luck could table me…all the Assault Marines on the right flank move into firing range of the Swarmlord. The Gaunts on the contested quarter are easily dispatched. Every shot from the Blood Angels army seems to go into the Swarmlord – but he stays standing! The remaining Furioso manages charge him…which isn’t clever. Swarmlord kills it and consolidates towards the Assault Marines.

I pull back every remaining ‘Nid and try and hold up in some terrain in my quarter – meanwhile the Swarmlord charges and wipes out a bunch of Assault Marines and consolidates into cover.

*sigh* Turn 7 and Matt literally throws every single shot in his army at the Swarmlord. He’s in cover…but fails its save on the very last wound and dies. I sob. Luckily – that means there was nothing left to fire at my hiding Gaunts.

In my turn I fire off some random shots where I can – but it’s already over.

Matt wins 3 quarters to 1 and has about 1700VPs (I have around 600).

It was a more brutal match than I was expecting…for a start no one ever comes for me first turn, so I was on the back foot straight away. I’m not really sure what I could have done differently either…

The better man definitely won and I didn’t feel as bad when I saw that he came in 3rd place overall – congrats Matt!

9 Dec 2011

Blog Wars 2 – Game One (‘Nids vs. Blood Angels)

So first game of the Blog Wars tournament and I drew Dave *not that one* Cameron and his Blood Angels. Amusing seeing as how we are friends, but I don’t get to see Dave much and have never had a one-on-one against him.

From memory, Dave’s list was:


Sanguinor

Librarian & Assault Terminators in a Stormraven

Assault Marines in a Razorback

Assault Marines & Apothecary in a Razorback

Tactical Marines in a Rhino

Scouts

Vindicator Tank


My list is here.


The mission was Annihilation with Pitched Battle Deployment and the Unique Character was worth 2 KPs.


I thought this should be a pretty straightforward game and the small volume of Dave’s units and mech should work in my advantage unless I started haemorrhaging KPs (as ‘Nids are prone to do…).


I won first turn and deployed in a line across the board – with Hive Guard and Tervigons on each flank and Swarmlord, TFex and Trygon in the middle bubbled by Gaunts.


Dave went Null Deployment and my first two turns were spent spawning Gaunts (I think I got 3 or 4 broods of 10 before pooping out) and got the entire deployment line to the middle of the table.


Dave’s turn 2 he brought in the Stormraven (with Lib & Termi’s), Vindicator and Scouts in the far right table corner (about as far away from the Swarmlord-core as possible). He managed to take a few wounds off the nearby Trygon with shooting.


My turn 3 and my entire right flank advanced to get in range of the Marines. The left flank advanced – but cautiously in case he deployed in the left corner and made me waste more movement. With shooting the TFex exploded the Vindicator and the Hive Guard exploded the Stormraven; taking an Assault Terminator with it. The Trygon charged the Termi’s but was out of range.


Dave then deployed a Razorback unit from Reserve into the right corner and got the Termi’s into a charging position on the Trygon. Shooting softened up the Trygon a bit more before the Termi’s charged and the Scouts killed some nearby Gaunts. In combat the Librarian and Trygon fought at the same time – the Librarian failing to kill the MC and the Trygon took down a couple of Termi’s. The remaining Termi’s then Stormhammered the Trygon into pulp and consolidated into a nearby building for cover.


My turn 4 and I moved everyone as fast as I could to the right corner, but the Swarmlord, a Tervigon and TFex were lagging around the middle of the table, leaving my Hive Guard, a Tervigon and some Gaunts to fight the Marines. In shooting I managed to pop the Razorback and kill most of the Scouts. Nothing was in charge range.


Dave then brought on the other Razorback and the Sanguinor…guess where? The right table corner… A combination of the Sanguinor and two Assault Marine squads killed the Tervigon on that flank.


Dave is currently winning 3-2.


My turn 5 and I rushed everything I had into the right corner to try and kill anything to even up the KP’s, whilst making sure anything fragile was out of range of the Sanguinor and Assault Marines.

In shooting I managed to finish off the Scouts but only managed to kill a couple of Marines (damn AP4….).


Dave’s turn 5 and he finally brought on the remaining Rhino & Tactical Squad from Reserve. Being eagle –eyed and very crafty, he brought them on in the left corner, disembarked the marines and emptied everything he had into a straggling brood of Gaunts. He managed to kill exactly all of them.


At this point we rolled to see if it went on to Turn 6…it didn’t and Dave won 4KP’s to 3KPs (with about 30VPs in it).


Aaaaargghh!!! F*cking crafty marines!!! Dave played a very good game and it was his tactics that won him the game. By deploying in the far corner, it meant that I never got (the strong) half of my army into combat with him….


I realised I may have messed up by targeting his Assault Marines with my Hive Guard in the 5th turn instead of Sanguinor – the thought at the time was that Sanguinor would probably have lots of fancy saves, so it might have been easier to take down 5 Marines. It probably wasn’t really – if I had gone for the Sanguinor and he had a couple of bad rolls, I would have walked away with the win.


Oh well - maybe next game.

6 Dec 2011

Blog Wars 2 Round-Up


Hi all – back from Blog Wars and I thought I would briefly let you know how it went for the’Nids:


I had a great day and ended up coming 12th out of 22 – which I am really happy with; it’s better than last years ranking especially seeing as I only won a single game.


Fellow northerners Grey Lamb (from Sheep of War) came in at 16th and Dave *not that one* Cameron (friend of Weemen & Sheep of War) came in at 19th, so we were all pretty close.


Game 1 was against Dave *not that one* Cameron and his Blood Angels; it was good to play Dave because I’ve only ever played him in doubles. He won….the sneaky….person.


Game 2 was against Matt Greenwood (friend of From the Fang) and another Blood Angels army. This was by far my hardest game of the tournament (and possibly of all time) and I got pretty mullered.


Game 3 was against Jon Morrison (from Faulty Dice) and his Imperial Guard list. A very fun game which went in my favour from the very start. ‘Nids scooped a win on that one.


I’ll be posting mini bat-reps over the coming week for each game and as many pics as I can.


The surprise of the weekend? Taking home the bacon for the Best Painted Army!!! I really wasn’t expecting that – especially with so many other amazingly painted armies…so a massive thanks to all who voted for me!


I’d just like to thank the tournament organiser Alex (from From the Fang) for doing another great job and he can count me in for Blog Wars.

29 Nov 2011

‘Nids Blog Wars 2 list

So this weekend I’ll be heading back to the homeland to enter Blog Wars 2 and I thought I would share the list I am taking.

Comparing it to the list I took to Blog Wars 1 (which you can see here), you’ll notice it’s much more functional and hopefully, competitive.


HQ

Swarmlord

3 x Tyrant Guard


Troops

Tervigon (Catalyst/Adrenal Glands/Toxin Sacks/Cluster Spines/Scything Talons)

Tervigon (Catalyst/Adrenal Glands/Toxin Sacks/Cluster Spines/Scything Talons)

10 x Termagaunts (Fleshborers)

10 x Termagaunts (Fleshborers)


Elites

3 x Hive Guard

3 x Hive Guard


Heavy

Tyrannofex (Rupture Cannon/Desicattor Larvae)

Trygon (Adrenal Glands)


So that’s 5 MCs, arguably the best CC unit in the game, a bit of anti-tank and the ability to (*hopefully*) spawn a shed-load more troops (60+ in my last game).


I’ve played a few games with the list and they have gone very well – with target prioritisation being a key factor for my opponents (what are you going to try and take down first and can you afford to let the rest of the army live while you are doing it?).


Despite taking a meaner list this time, I am still going with the intention of having fun and am really looking forward to meeting other 40K bloggers…I just also aim to be less of a walk over this year :)


Somehow, despite deciding on the list some 2 months ago and already having almost all of models, I still have 3 x Hive Guard, the Swarmlord, a Tyrant Guard and 19 Gaunts to finish painting and only 4 nights to do it in….how does this always happen???
Blog Widget by LinkWithin