28 Sept 2018

WIP Pictures

Hi All,

So I've had a few projects I' m working on:

Daemon Prince,

I'm working on a named Daemon prince using the Lord of the Rings Balog model- Steady progress with the skin so far. I am planning to have a lighter toned skin for the wings, and a deep coloured deamon sword. I'm still in two minds whether to paint the 'fire' red/orange/yellow etc. 
 Flyers

I've got several flyers that are complete apart from the pilots, so whilst there was some sun this week I managed to get the 5 pilots undercoated red. These will be highlighted, then washed and then detailed.
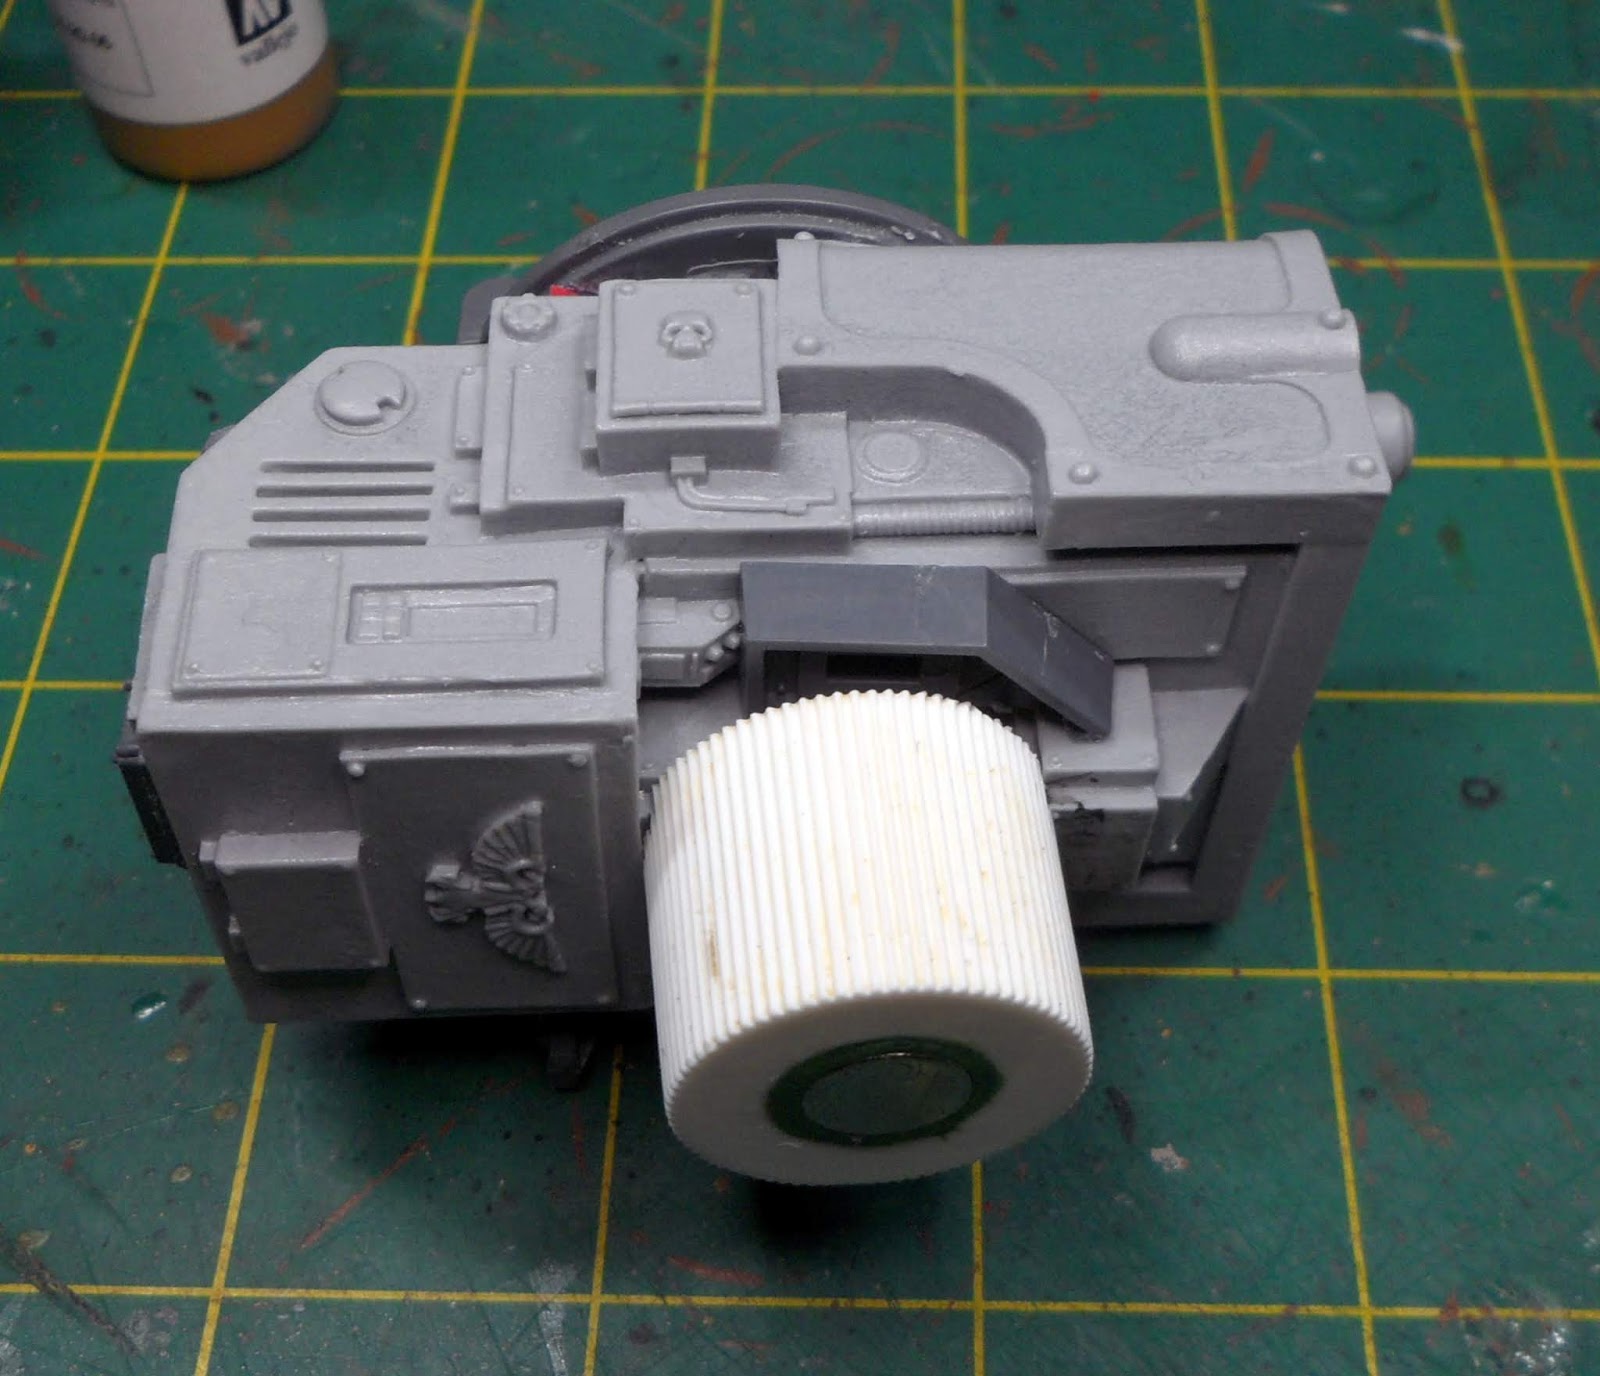
 Reaver Titan.

The Reaver is in essence complete, the final few decals are added. I just need to get the battle board out to do the completed pictures..  Here are the knee pads completed.

 Thanks for looking!

24 Sept 2018

Legio Astorum - Forge World - Warlord Titan Build #19 - First of the Armour Plates

Welcome back Titan Enginseers, some might say a small and insignificant step, but nothing is insignificant about a Warlord Titan step - I started from the bottom up, a small addition - the in-between Toe Armour! The first of the Armour Plates for me, so significant to me at least ;)
The blue was a test of the Titan overall scheme, Kantor Blue base, FW Airbrush Night Lord Blue around the edges, washed with FW Airbrush Clear Blue and done - a decent match to the other Titans in the Maniple so a win win.
The gold trim was Model Colour Brass (#174) and I must say the coverage is exceptional over the blue, and smooth and from a dropper bottle, so another win. This was washed with Agrax Earthshade to knock back some of the brightness and give some shade around rivets, similar to the other Titans, but perhaps still a little brighter than Richard Gray metallics of Reaver Honorum - but Rich said this was the colour he used, maybe more shade required but I kinda like the subtle variations inbetween Titans - they all have different stories so it stays.
The Build also continues with the arm mounts, a Belicosa Volcano Cannon. I have also bought magnets for holding and prevent pivoting and a nut/washer/bolt assembly for the central axis fastener as a backup and secure method - should the magnets become unstuck.

Warlord Titan Construction Guide:  Link to Warlord How To Build - Index Page

Just a small update, but important to me! Getting this thing done at last feels good... The TOC Walk UK 2019 will have another Loyalist Warlord! Promises promises...

Cheers, Siph.

21 Sept 2018

Reaver Titan - make your own Decals

Hello!

I think this might be the last Reaver WIP post before the big reveal, finished post.

As you might have seen, I've painted my titan in the colours of the Legio Crucius. Unfortunately there are no Decal sheets for the legio - so I opted to make my own!

Using some Lazertran Inkjet Decal sheets, I was able to print out my own designs for the titan.

As you might have seen last week, I posted a WIP post about how I printed the symbols to be turned into Decals onto paper first to test fit size etc.
https://weemen.blogspot.com/2018/09/reaver-titan-transfer-wip.html

From here I then printed them onto the Decal sheet, and then left them to dry for 30 minutes.

I then prepared the Decals, cropped and trimmed and then added to warm water. The Decals were really easy to apply to the model. And here are the results so far..


The biggest issue with these transfers is the 'white border' you get around the Decal. I ended up trying various techniques with ardcoat and then mirco set to try to remove this. In the end I opted initially for paint on the scroll work on the carapace, with a wash and highlight- this acted nicely as the text then gets a slight 'worn look' about it. The knee pad scroll I simply used Agrax over it- and it worked really well!

Thanks for looking! LH

17 Sept 2018

Vorax Battle-Automata WIP for Blogger Buddy Zzzzzz at DevosIV

Hi All, thanks for dropping in, busy with a few unfinished projects at the moment, a half painted Armiger Warglaive to make the pair, a Reaver Titan Carapace Weapon, a Squad of Necron Warriors and these Mechanicum Vorax Battle-Automata amongst other numerous projects - never can tell where the hobby butterfly takes me...

Blogger Buddy Zzzzzz, a frequent commentor here and owner of the fine Brick of Shame at Devos IV Blog is a very generous chap - or devious, can't work that one out yet ha ha.

When the Custodes first hit I purchased a number of squads - languishing in the to-do pile - and Zzzzzz had no use for his so gave them to me free on the promise I would one day return in kind with a favour... that time has come ;)

In the post came a box of resin joy and here is where I am so far. Quite fiddly and main superstructure legs are now done, bodies and arms also ready for painting just leaving the task to glue/heat/bend the ammo chutes which looks challenging, but do-able.

I'm looking forward to painting these in a differennt scheme than mine (painted by Mordian7th) so to accompany Zzzzzz's Legio Astorum Titans, like mine, I will be painting these in similar colours - like Legio Consorts, ranging ahead of the larger Titans, fixing larger targets and assassinating smaller foes ahead of the Titan God-Machines!

Soon have some colours laid down and we can go from there. A fair exchange for Custodes I reckon.

Cheers for now, Siph.

14 Sept 2018

Reaver Titan - Transfer WIP

Hi one and all,

To complete the Reaver I've decided to try to produce my own transfers. Currently there are no Decal sheets produced by GW, thus I opted to try something new.

I have purchased some water slide decal sheet paper, and will be trying this out over the weekend.

However I decided to print out some 'transfers' to test the size and fit, as well as location. I will be printing off the Legio Crucicus symbol with various sizes to go on the carapace, knee pad and on the weapons. I will also be adding the Titan Owners Club heraldry to the model, which will also have the date for any Titan Walk events the Reaver attends- as well as kill marks.


I will also try to print out scroll work text for the scroll on the Knee pad and top carapace.

The issue with these transfers is that the printer will not print 'white' so I will have to make sure any white needed will be applied to the model prior to adding the decal.

Thanks for Looking! LH


10 Sept 2018

Legio Astorum Reaver Titan "Honorum" Up Gunned - WIP - Titan Carapace Weapon Conversion

Hello All, thanks for dropping by. So with TitanOwnersClub UK Walk completed I couldn't help notice that the opposing Titans were maxed out for Titan killing with Turbo Laser power - making me feel mighty Honorum Apoc Launcher has a place, but not on the Titan Vs Titan battlefield... so the trusty Tech Adepts have sourced some new firepower. That said, it was the Apoc Launcher that finished off a wounded Warlord, earning Honorum a lovely battle honour - yet to do - I'm thinking crossed axes to denote Warlord kill.
As Titan lovers know, the FW range of Reaver Carapace Weapons does not extend very far at all, however thankfully the "no rules for minis we don't produce" has not reached as far as the FW Imperial Armour Index. The dual Turbo Laser Destructor is a hefty S16, ideal for wounding the T16 Warlord, Reaver triple Laser Blaster are only S10 - so the ideal weapon for the Carapace is a dual Turbo Laser Destructor. The choice was either buy the FW Imperial Primus Redoubt for a pricey sum and sell the board - its weapon was initially designed for the Reaver - or buy a Warhound Laser and convert, for less money I also picked up the Reaver Volcano Cannon too, up-gunning the Gatling Blaster arm....
So using a tube cap at the requisite diameter, spare weapon cowlings from a Stormtalon and some greenstuff and a magnet, I fashioned the mounting.
To cover the arm slot on top (for Warhound) I used a spare top of the Galvanic Magnavent as a hatch piece, some range ruler offcuts, some Leman Russ bits and a bit of sprue.
The illusion that this was always here was with the addition of a ladder from the Sector Mechanicus kits, and a functional access to the hatch.
I angled the small cuts on the lid to get a slight downward tilt so the rear would clear the Carapace when rotated,
I then constructed the rest of the barrels as normal using JB Weld and some clamps.
As you can see, it does the job nicely, once painted to match will look the part. I still prefer the Reaver, ahem, I mean Primus Redoubt turret, but that will be for the next Reaver... dual Triple Laser Blasters and dual Turbo Laser Destructors - 8 barrels for Titan slaying like our opposition Lynden P's glorious Engines.
I know, a Titan progress, but wrong Titan...a departure from doing the Warlord which is slowly progressing, but couldn't resist having a play getting a believable Warhound arm as a carapace mount. It should look good enough once painted up.

Hobby Butterfly Syndrome takes me wonderful places, time to get back to the Warlord... perhaps. Cheers, Siph.

7 Sept 2018

Whats the conversion?

Hello one and all!

I thought I'd drop a post to show you a current WIP converted model.
So, the question is.. what is the conversion? Answer as a comment below.. more next week..

Cheers for looking! LH

3 Sept 2018

Terrain and Scenery - Sector Mechanicus - Galvanic Magnavent

Hi, welcome and thanks for dropping by. So, with the re-release of the Imperial Knights Renegade game I thought as before I would crack out the scenery before attempting the Knights. The previous Sanctum Imperialis can be seen HERE.
As usual I based the scenery on 3mm Hardboard (Fiberboard) and added the sand and PVA, the Galvanic Magnavent was put in the middle of the gantry so Tech-Adepts can service and monitor the machine spirit.
I used tape to mask off the guard rails and painted hazard stripes, initially on two panels but I liked it so much, I did every panel. I added a ladder for access and the kit comes with various chains / pulley / cranes / pipes etc.
Gotta love the skull head davit crane thing of the 41st Millennium... You can also see the centre Magnavent is washed with the magic Lahriam Fluid with 2 drops of Mournfang Brown wash mix, for a rusty aged look.
The gantry itself was a simple black undercoat, drybrushed Leadblecher and Trollslayer Orange, similar to my previous Mechanicus themed terrain pieces. I added a rock to the base for interest, the base was marked out where the gantry and vent sat, then painted and sand/PVA applied etc separate from the building, for ease of detailing the underside etc.
I weathered the fan assemblies and hazard stripes with Agrax Earthshade over the Tau Sept Ochre base.
I painted the Magnavent main chamber to add some colour and a few pipes and wires for interest.
I even picked out a number of the indicator glass valves, whilst the crane derrick skull was given a different glaze to the gantry to show the functionality.
Each guardrail had the Mechanicus Symbol picked out in black and white and Leadbelcher, with the numeral plaque in brass.
The walkway had a simple drybrush with a few cog symbols picked out, functional colour scheme.
The exhaust apparatus was given a soot finish and here you can see the surface area, plenty of room for entire squads to get a good view of the battlefield from up here.
The main Magnavent Control Panel received some detailing.
And even in the 41st Millennium its nice to see some Health and Safety at Work firefighting equipment, a nice extinguisher.  That will help when you stand in the fan assembly on the deck treads and lose a foot...

Hope you like this new addition and see how simple and effective a drybrush finish over this terrain can be. Cheers for stopping by, thanks, Siph. (5 points - Scenery)
Blog Widget by LinkWithin