Hi Titanseers, I am lucky enough to be involved with Titan Owners Club and a friend of the co-originator Drake Seta. He is a whizz when it comes to designing graphics and banners and has done banners for all the TOC UK staff, free of charge! Ace mate! So, I received an envelope in the post before the recent amazing Titan Owners Club Walk UK held at the end of June.
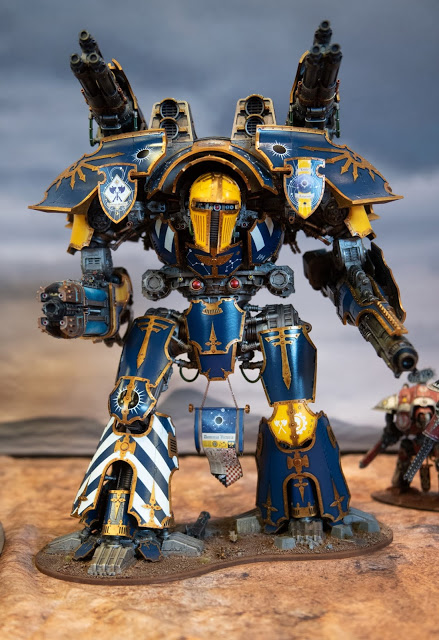
So, I got the banners ready for the Walk! Here was how I did it, there are many other ways but hopefully this gives someone a hint on where to start. I added the Titan Certificate numbers to the reverse of the Warhound Banners, and amended the numerals on the base of the Warlord banner to reflect the roman for '104' now 'CIF' which is also very similar to 'Siph' so happy with that!
Firstly using a sharp hobby knife I cut out the banner from the paper, following the lines as best I could.
Using a length of brass rod cut to size I used paper glue to glue both sides of the banner together around the brass rod. Then I applied some bends around a paint pot to simulate the banners flapping in the breeze, and applied a thinned layer of PVA (Elmers) glue to both sides, this helps the paper hold the shape once dry, and dries clear. For a more realistic look, I sealed the white edges of the paper with some black paint and added a few cuts to the lower edge before stippling with brown and black to show fraying and battle damage. You can do this to your taste.
There are many ways to secure the banner to a titan, I chose some model railway gauge steel "brass look" chain and for the Warlord a picture 'eye' hook. I carefully opened the hook-eye so a chain can be put in and out of the central ring.
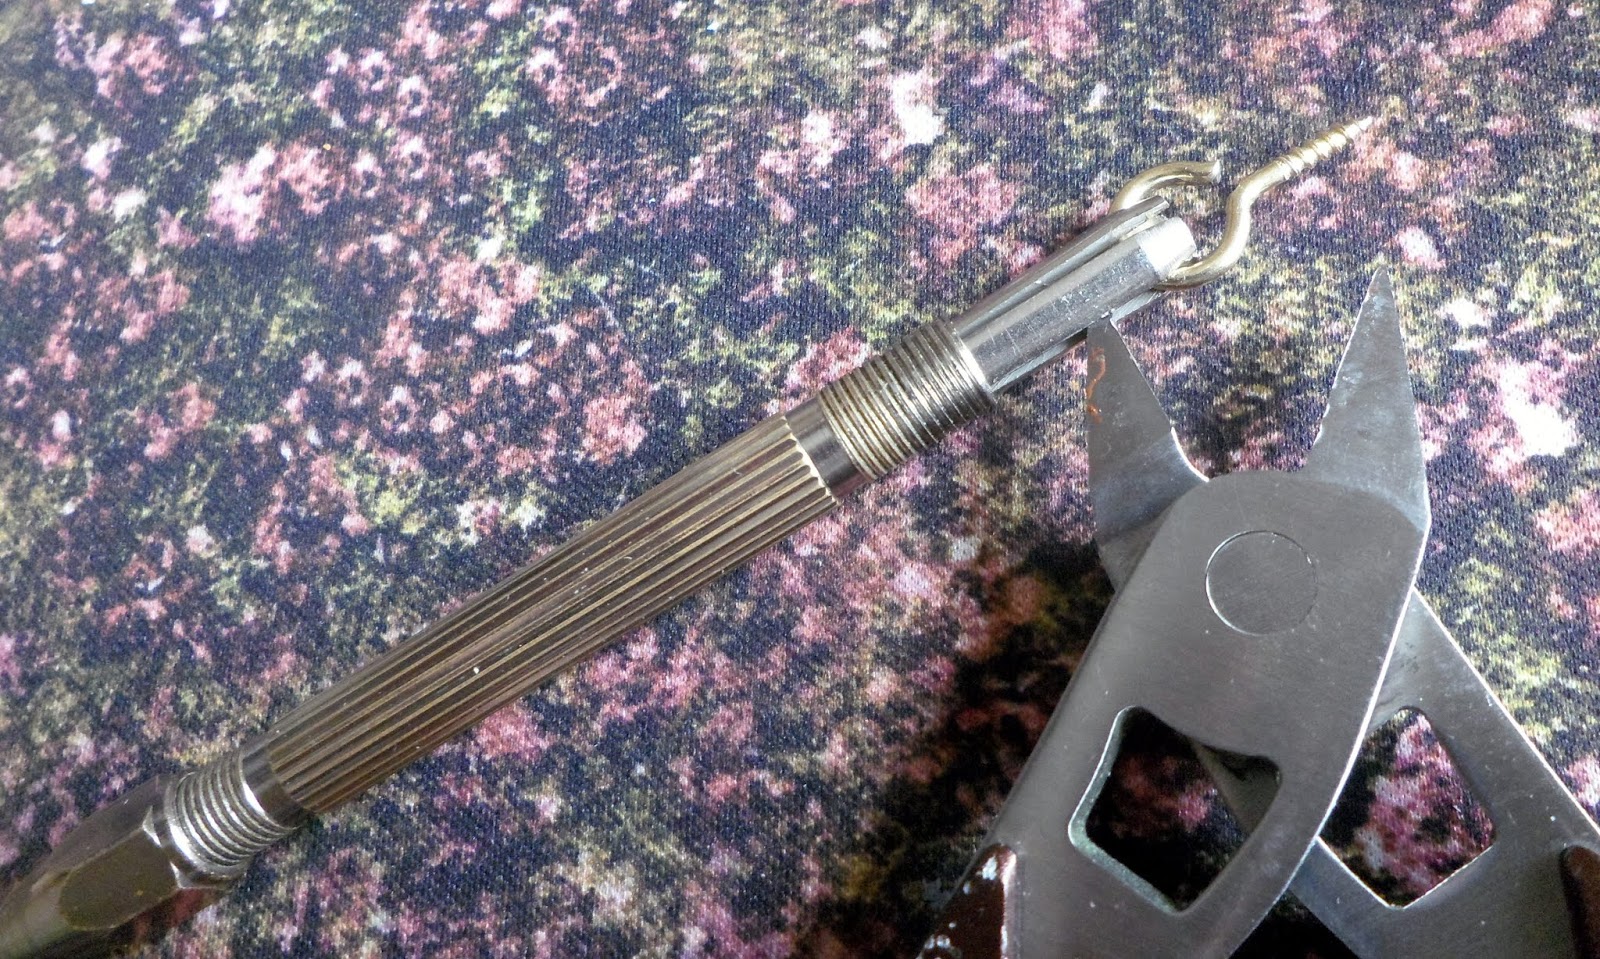
The Warlord has a deep groin so an ideal place to add an unsightly hook, again you can manufacture small 'staples' from wire and add those if you want it to look scale, but no-one will be staring up the Warlord's groin - I will paint the hook black to disguise the final set-up. How to insert the hook? Using a pin-vice I drilled a small pilot hole and using the pin-vice itself as a handle, screwed in the hook-eye into the Titan groin. (the points of the clippers were to manipulate the pin vice head tangs apart). Long nosed pilers would have been a better choice, but as i didn't have any, I adapted.
Using a pin-vice I drilled a small pilot hole and using the pin-vice itself as a handle, screwed in the hook-eye into the Titan groin. Here was the simple pin-vice handle screwing in the hook-eye.
I finished with the hook-eye forward-to-aft so the banner chain would sit in line with the hips and legs, facing forward.
I measured the chain length needed to hang the banner in the desired length and space.
Using the clippers I shortened the chain and opened and then close a link to form a loop of chain on itself.
This was then threaded up the banner and rod.
The two ends of the loop were gathered up and formed the vertical lengths of chain.
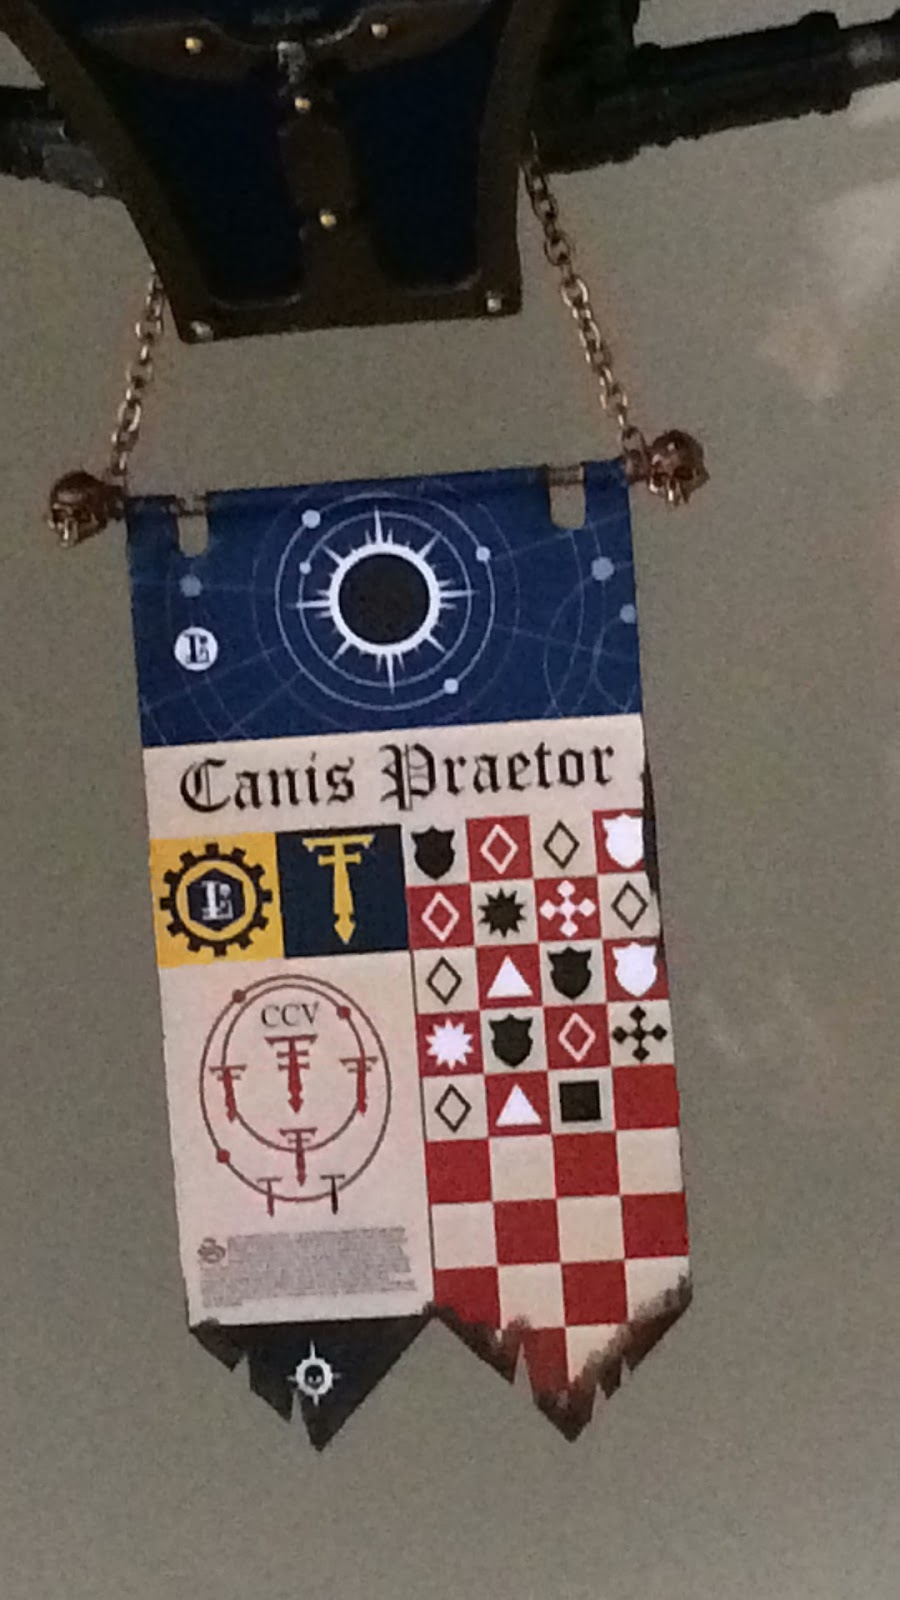
I ensured both loop ends were married up to take equal strain and the double chain gives some gravitas to the chain length. I added some AT markers as finials for the cross beam, the cog and skull marking is quite fitting.
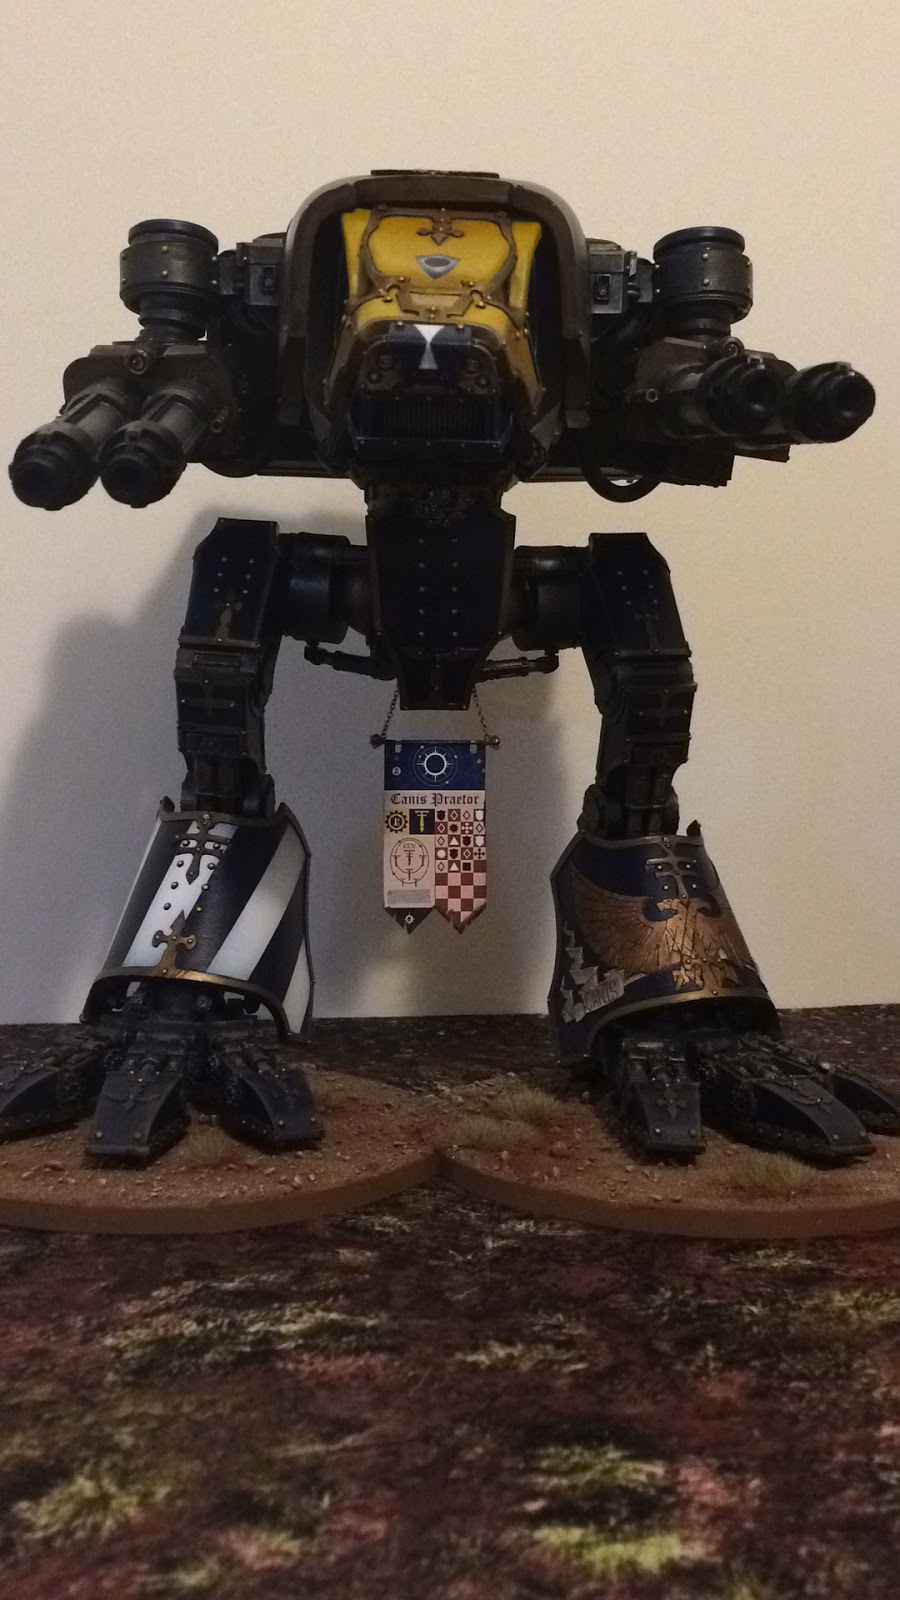
This loop was simply hooked through the opened hook-eye and the chains adjusted freely to make sure the banner hangs vertically. I think the advantage of this method is there is limited fiddly hooking and wire bending, and the banner is free to be adjusted and removed if wanted without any further modelling or repairs.
Finally Dominus Victoria has a heraldic honour banner to record all her glorious kills!
The Warhound Banners were cut out the same and placed around the rod, this time constructed from an over sized paperclip, straightened and cut to size.
The chain was cut to the desired length and the end links were opened and then clamped shut around the ends of the paperclip rod. These were then sealed in place with superglue. I used two skulls from the Box of Skulls to act as finials and also as extra strength to prevent the chain links from moving. The banner bottom was weathered the same as the Warlord.
I did the same for the second Warhound, but this time, clamping the links in position after the banner was already in place. Both the banner and the links were sealed with superglue.
Due to the placement of the chain, I felt it unnecessary to add finials. The loop of chain was placed in the small gap between the armour plate and the groin superstructure, and a couple of drops of glue sealed the chain in place along the edge of this gap. Minimal effort to fix in place was needed due to the gap present at the lower half of the groin plate.
Well, that;s what I did for these banners. The most difficult part is really either designing or obtaining decent banners. The scale model chain was the easy part. Honorum already had a banner designed by the rather excellent Ron, formally from
From the Warp and now
Sketchbook Gaming blog. Here is
Honorum's Banner.
###EDIT### Since writing this, Lyden P, also at TOC showed me his genius method - simplicity in itself, drill and mount two small magnets flush to the underside of the Titan and use a steel chain, the magnets hold the chain in place and the banner and chain is removable for storage. Genius, why didn't I think of that!
Cheers All, Princeps Siph.


dammit, I want, I neeed a Warhound (no!). I'm more inclined towards the Chaos variety however so any banners would not be as sumptuously beautiful as this. Your Titans deserve nothing less.
ReplyDeleteGet one! The Chaos Warhound is back in production at FW, and is just a glorified Knight really... no justification needed... and there is a great Chaos Warhound step-by-step here in the sidebar >>>> :) And thanks mate!
DeleteWonderful work, shows real dedication to the cause there.
ReplyDeleteCheers Rory, I’m just glad I have a mate like Drake Seta who sat there researched, pillaged and designed all the banners for all Legios and then gave us them for free.
Delete