Hello Titanseers, and welcome to the Part 2 of the How to Build a Forge World Macro Gatling Blaster! Part one was an unboxing really, seen
HERE back in Sep 2021, but like all good things, they eventually come around and here I have finished it. The FW instructions are good, follow them.
As per the really good instructions that FW include, I started with the Ammo hopper, but also the top piece at this time. The Ammo needed a little green stuff filling on the underside but relatively easy otherwise. I always clamp my builds as the JB Plastic Weld takes 5mins to set, 1hr to cure. Don't forget to roughen up the surfaces where the two pieces join for a better adhesion. Do three parts here unlike the FW instructions, the top piece needs to be done at the same time as the sides.
I attach my weapons using 8mm x 30mm rod magnets, with a 12.5KG pull, so these sit fine on the Titan without fear of dropping. And can be easily rotated to break the pull for ease of removal. Here you can see the rod magnet in the attachment part.
At the Barrel end, I attached a small brass pin and roughened the surfaces for the join.
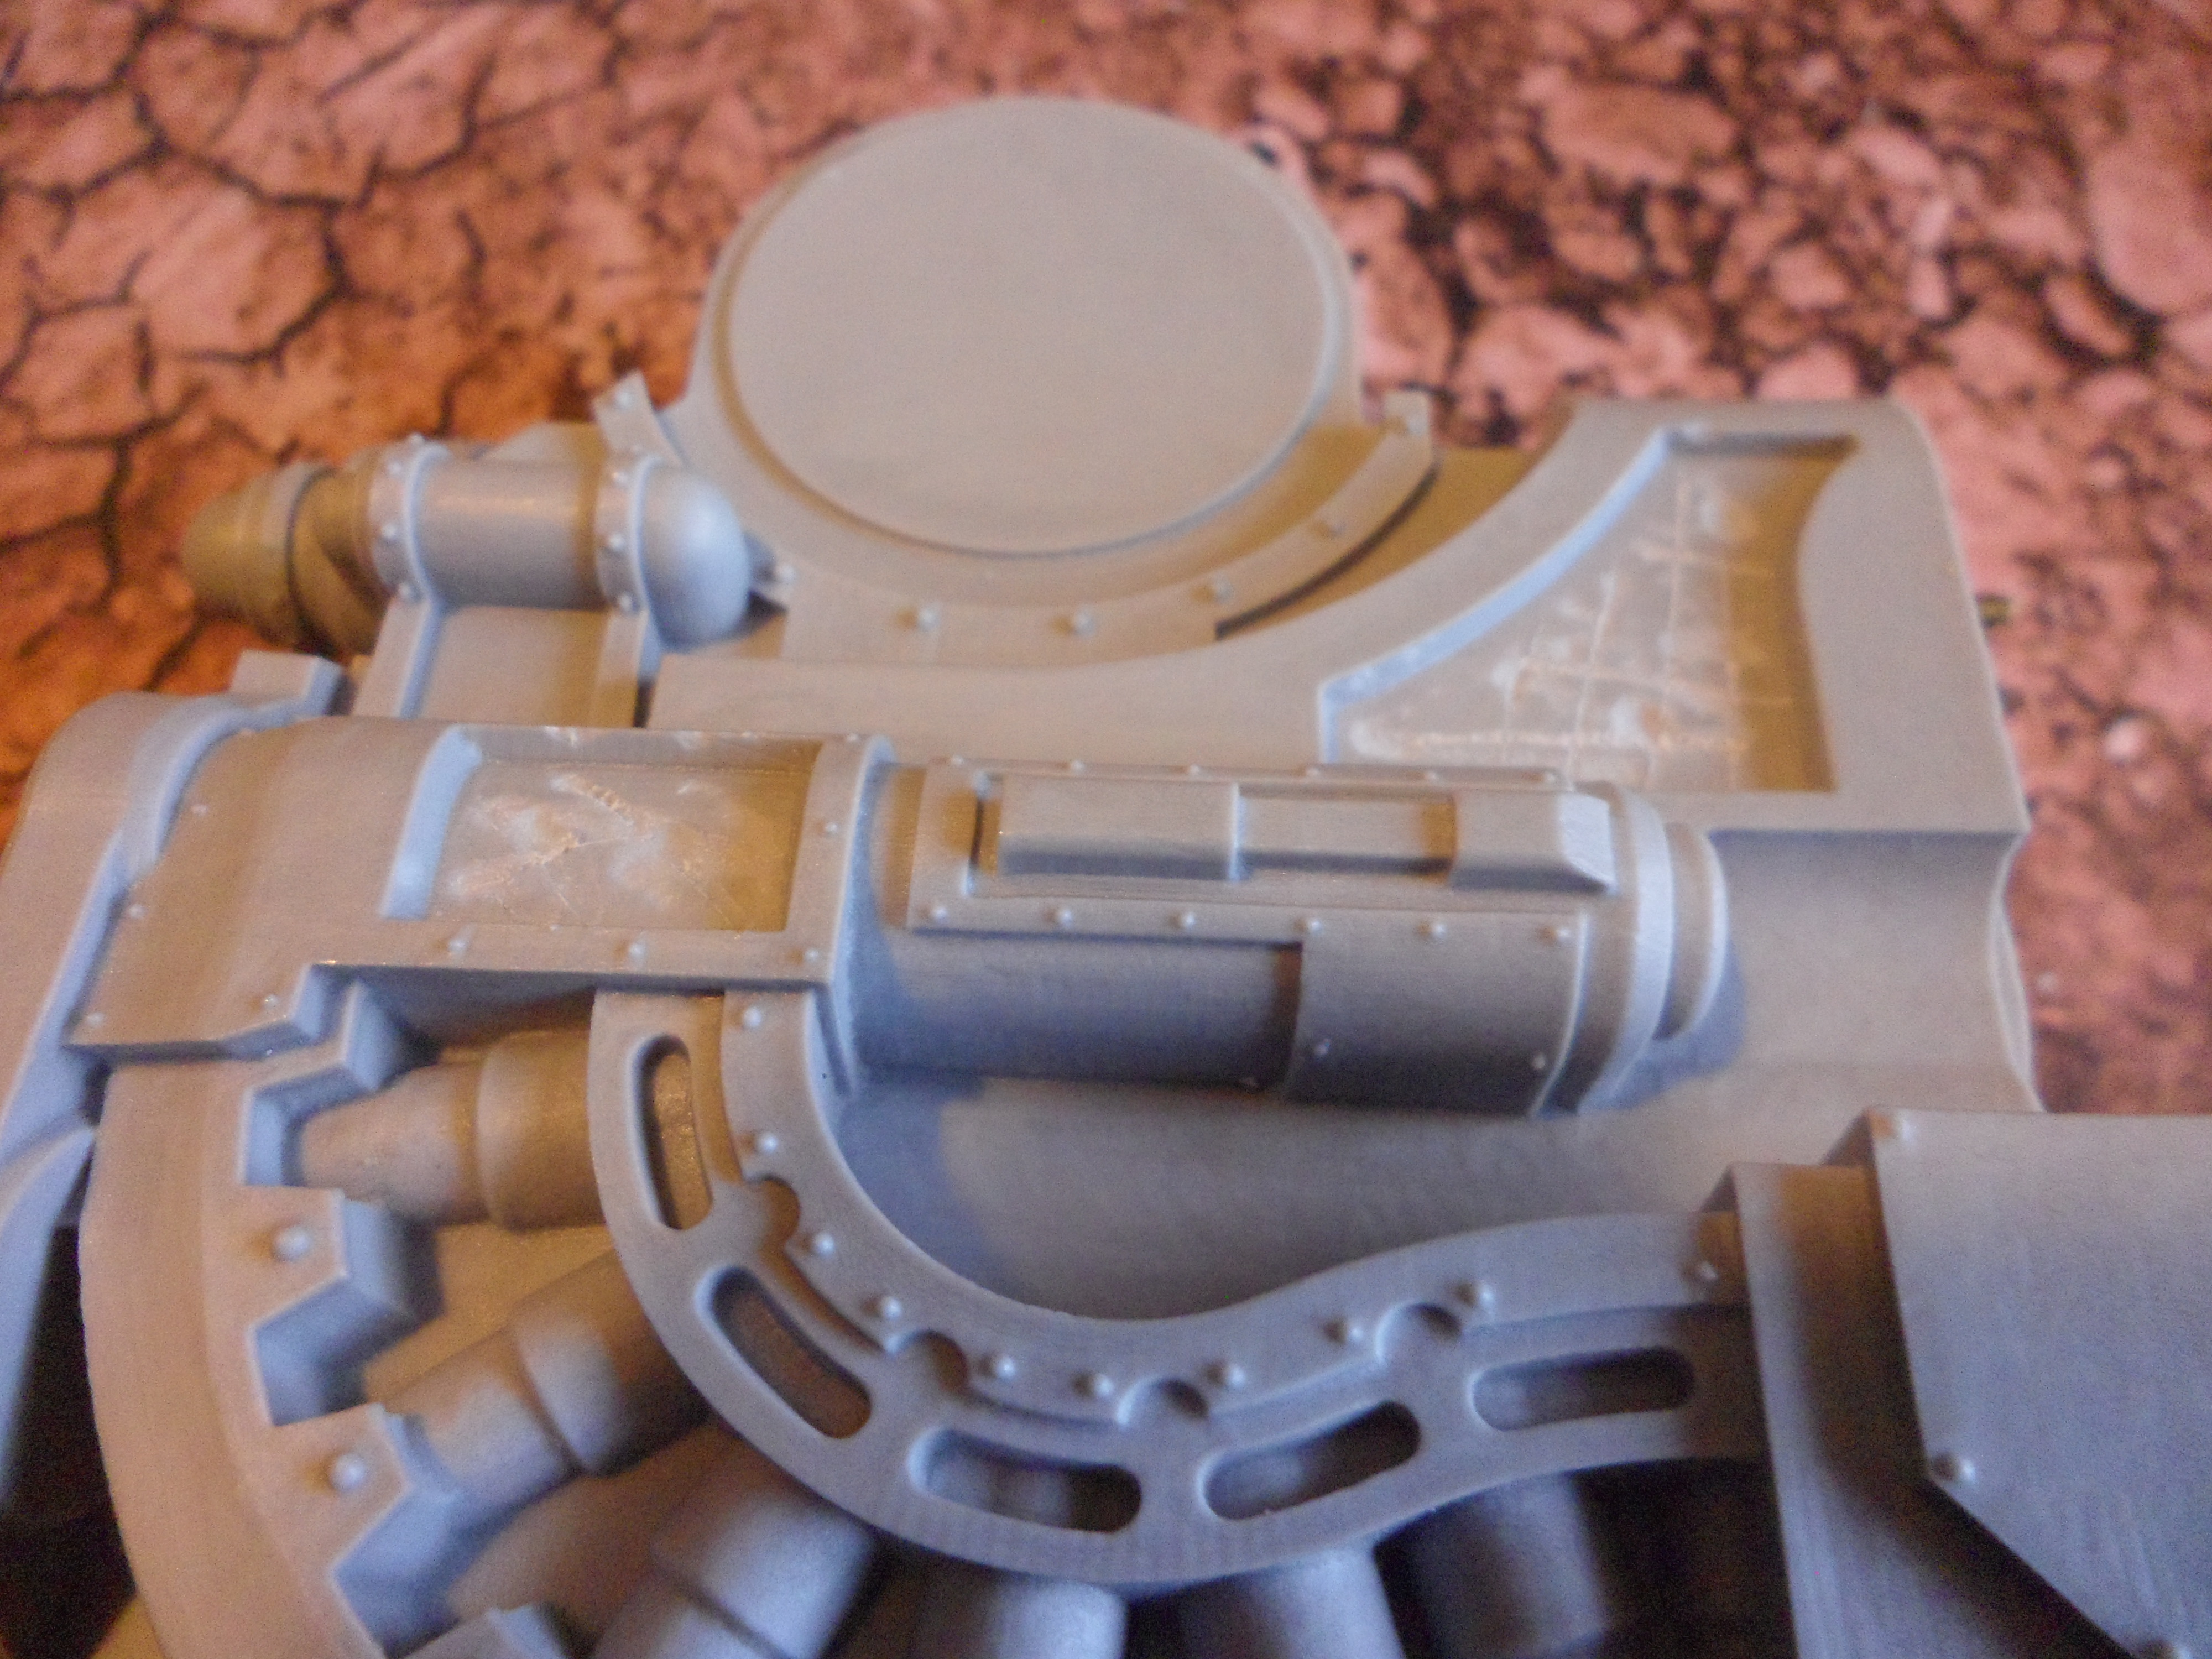
And at the rear of the mechanical assembly where the Ammo Hopper sits, I prepared the surfaces for JB Weld.
As per the FW instructions, it is easy to fit the barrel struts to one barrel and using the breach block as a template, attach the other barrels - only three to allow all round painting, the other three can be glued once painted. I used superglue for these small attachment points. The reverse of the Breach Block has also been prepared for JB Weld. A point to note, be careful when scoring the Breach Block reverse, not all of it is hidden, the edges of the barrels and the edges of the rotating gear leave some of the scored surfaces visible - so when scoring, don't go right to the edge like I did on the barrel side, doh!
The Ammo Hopper and Gun Assembly were prepared for JB Weld.
Using clamps, the Ammo was fitted to the Mechanical Assembly
Here is the nice gun unit now ready for painting
The Armour Plates fit in these two indentations, they were roughened for JB Weld joining too. Note - paint the main assembly before you attach the Armour Plates, otherwise you will not be able to get to this shells in the feedbelt!
Once the Barrel Assembly was painted, I glued the remaining barrels to the support struts before gluing to the round Breach Block assembly. Now it was a simple bring the barrel assembly to the main gun assembly and JB Weld - I used long clamps to achieve a tight join - the flat surface and the brass pin will need to support the barrel length.
And here is the final result, all painted in Legio Astorum colours, the barrels look great in black against the gold of the support struts. I particularly like the Scale75 Decayed Metal finish, washed with 4:1 Agrax/Terradon Turquoise and edge drybrushed Balthasar Gold. I repeated the decayed metal on the ammo hopper and now the 'working parts' look the business!
I have another of these for the eventual 'DakkaLord' Warlord Titan
I painted the Ammo box like its a cheap throw away container held on the rails, small decals to show the moving parts.
And here it is next to the other Warlord Titan weapons I have painted so far. Great Guns indeed!
A useful link to the Warlord Titan Construction process can be found HERE.
Cheers, Princeps Siph


No comments:
Post a Comment
For the Emperor! (and other Xenos welcome...)