Hello Titanseers, more progress on the Reaver No.2, Aquila Oculus now has some arms to fight with! I chose a 'disco' Reaver, two triple-barreled Battle Titan Laser Blasters and a carapace mounted dual-barrel Turbolaser Destructor. As you can see from the above WIP pictures, I have used 8mm x 30mm rod magnets for the arms and small 2mm x 3mm for the hose connectors. A trick is to mark the poles different colours so you dont mess up polarity - this way I can swap out and exchange weapons between Battle Titans (Reavers and Warbringers).
The cross hatching and no paint ensures a strong bond for the Armour Plates, and the magnet sits flush with the gun casing so the Arm mounts have a strong connection. The slot on top of the weapon fits snuggly with the Armour Panel so they sit in the correct position for the Arm mount and magnet. Simple to do.
The weapons come with right angled hose connectors, these are the re-modded Battle Titan weapons, I find it easier to glue the hoses to the torso and add the hose connectors to the hoses rather than the individual weapons, meaning the weapons simply pulls downward at the arm joint and lifts away leaving the hoses on the torso - a simple clunk into place, the hose magnets ensure the hoses sit correctly on the weapon mount regardless whether it is a left arm or right arm - the weapons are interchangeable - if the right angle connectors were fitted, they would not be exchangeable between left and right.
The hoses are pinned for strength at the torso connection point, and a small magnet in the dome of the hose connector to fit into the concave of the weapon mount.
In preparation for the coming together of the Rites of Construction, several of the Armour Plates were also finished off. The Aquila is red to match the red half Aquila heraldry on Aquila Oculus.
And the completed 'Disco' Arms, two Battle Titan Laser Blasters, I kept the blue armour free from kill markings or star map motifs as these are both completely interchangeable between left/right and Reaver/Warbringer. The Armour plates were painted separately and then clamped and glued into place afterwards, making sure to roughen up the surfaces for the JB Weld to better adhere.
The metal is simple, Leadbelcher washed with a mix of Nuln and Agrax, drybrushed with Necron Compound (oh the heresy!), gold is picked out with Vallejo Model Colour Brass (70.801) which is an almost perfect match for Citadel's Retributor Gold and washed Reikland Fleshshade. The central barrel sections had a drybrush of Soulstone Silver and further Nuln Oil at the extremities, to add some interest.
The muzzles received the same heat staining effect as the carapace Turbo Laser Destructor, just a simple drybrush of black around the muzzle, then a sequential washes of black, blue, purple and sepia - Nuln Oil, Drakenhof Nightshade, Leviathan Purple and Seraphim Sepia going backwards along the barrel. It adds some much needed colour and interest to plain barrels.
Just the base (not required but all my Titans are based for extra stability and the base acts as a third side of a triangle making the legs super rigid and strong) and the main torso section to complete now before it all gets sanctified and Walks! I'm hoping to have this Titan completed before the year is out - I may not be the fastest but this is 3.5 times faster than my Warlord build time! :)
Cheers, Princeps Seniores Siph


 The muzzles received the same heat staining effect as the carapace Turbo Laser Destructor, just a simple drybrush of black around the muzzle, then a sequential washes of black, blue, purple and sepia - Nuln Oil, Drakenhof Nightshade, Leviathan Purple and Seraphim Sepia going backwards along the barrel. It adds some much needed colour and interest to plain barrels.
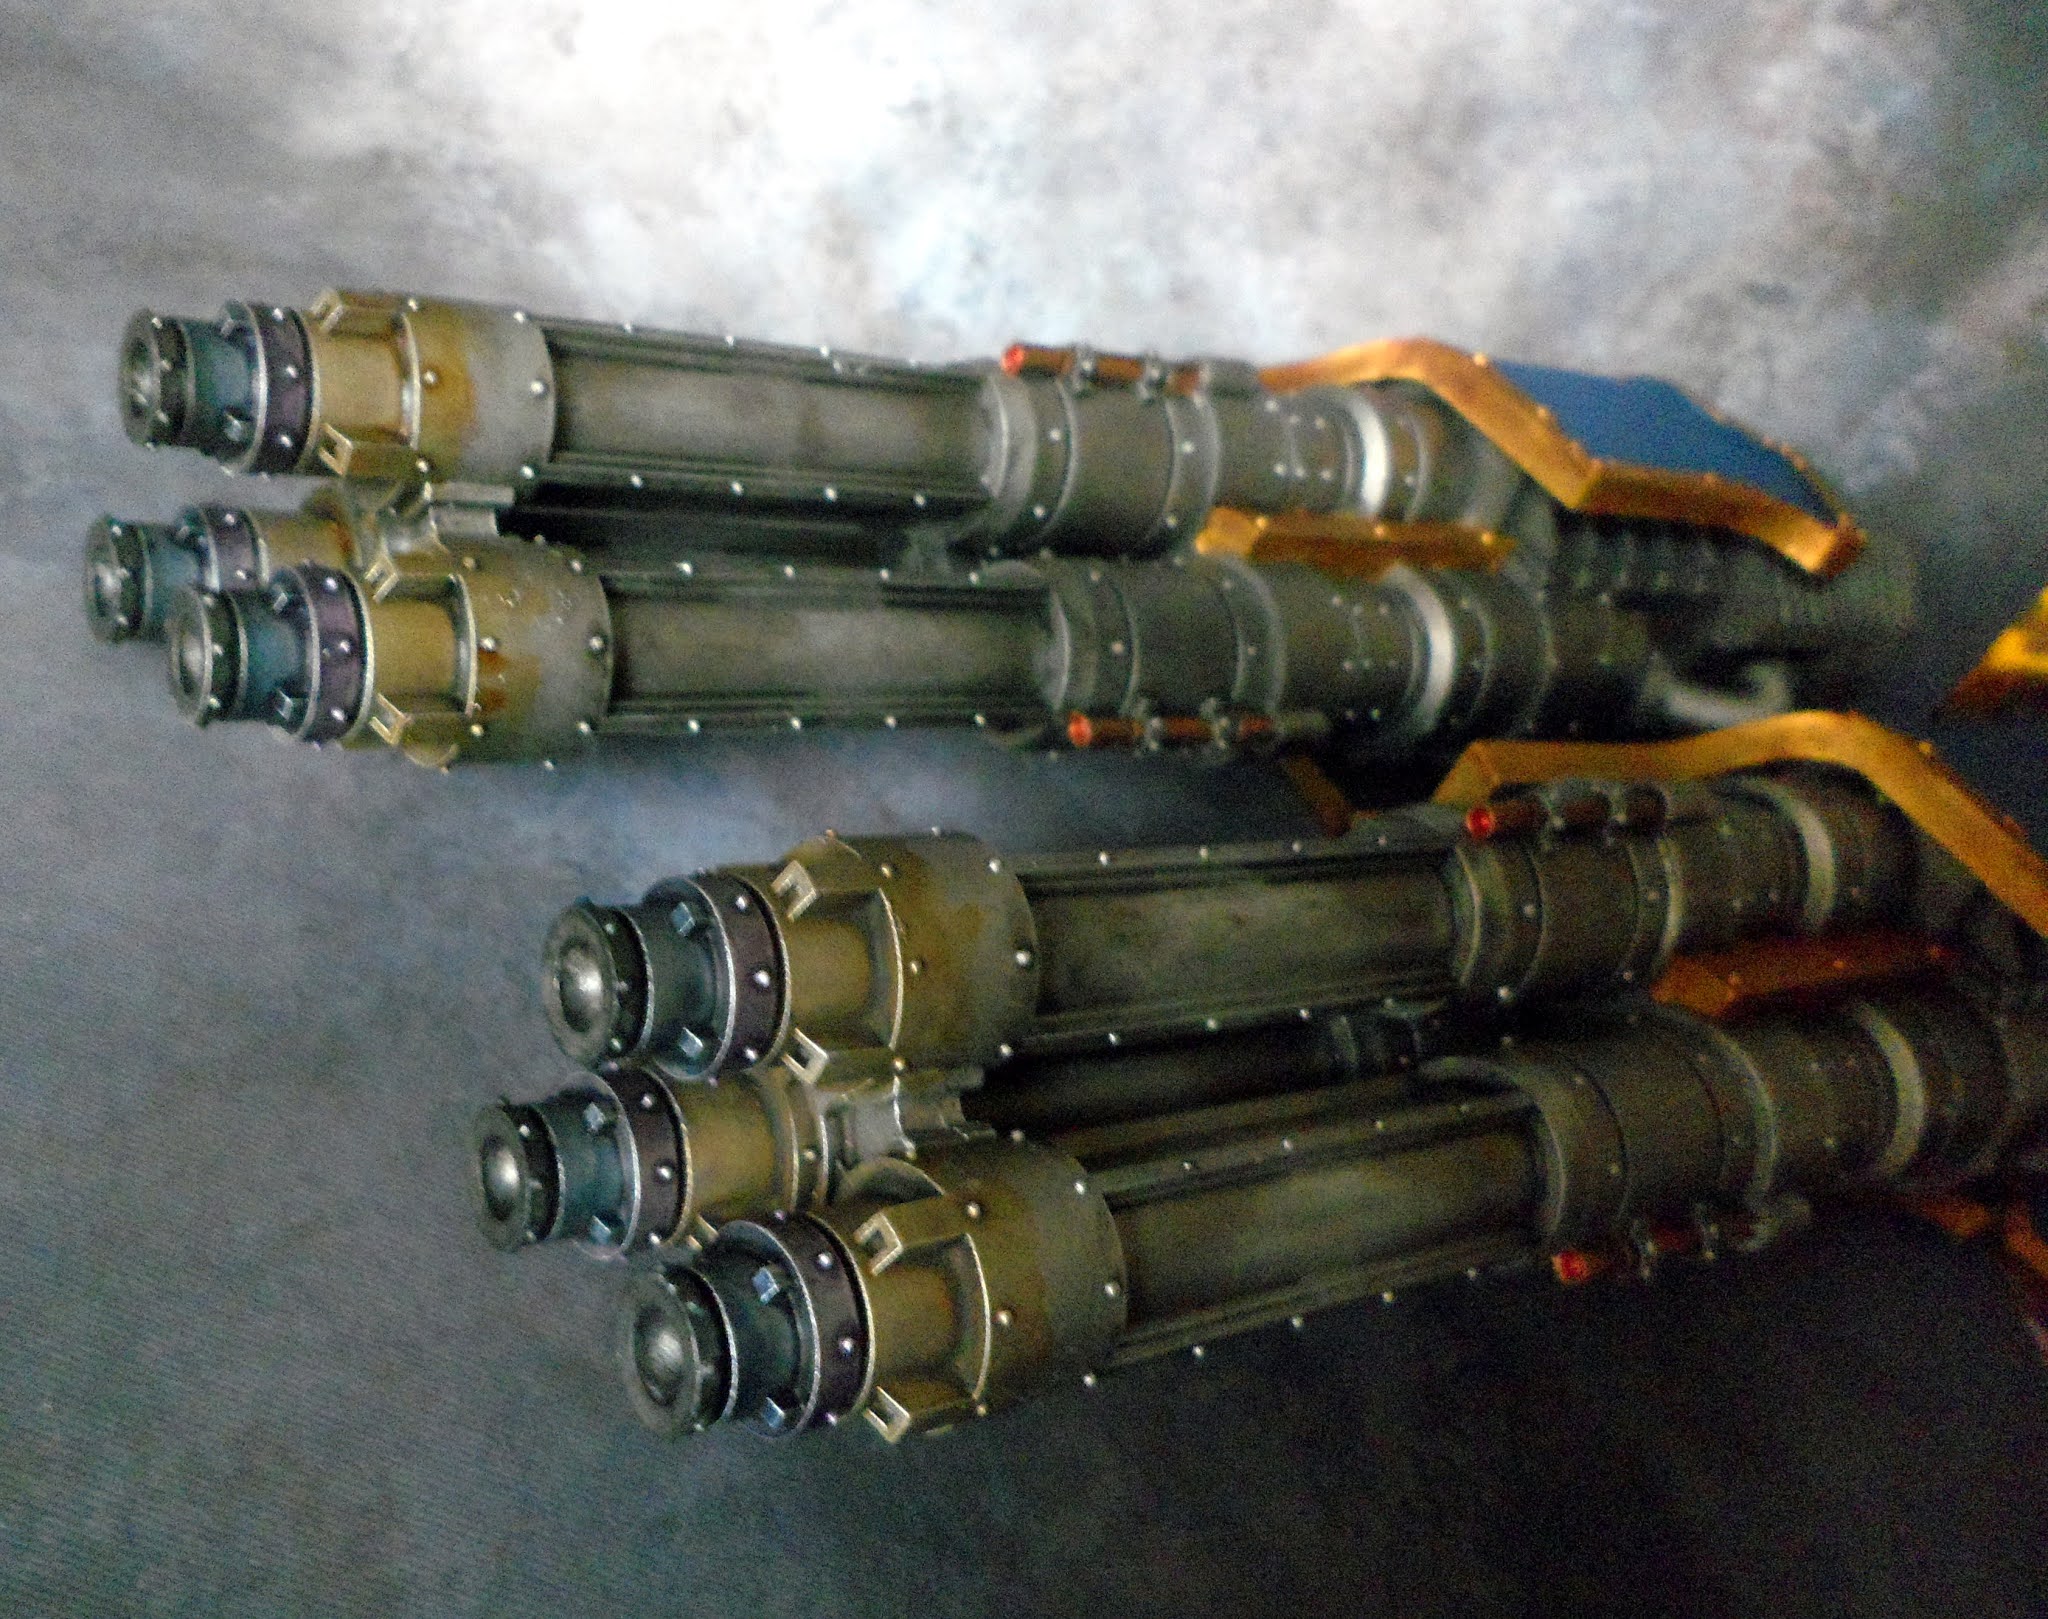

Nice, a titan after my own heart. Really like the idea of so many lasers. Keep it up, you are almost there.
ReplyDeleteThanks mate, in the final stretch, waiting on some nice old school AT banners too!
DeleteExcellent
ReplyDeleteI always upvote Warp Runners. +1 for each arm !